Long post with lots of photos, but hopefully useful information!
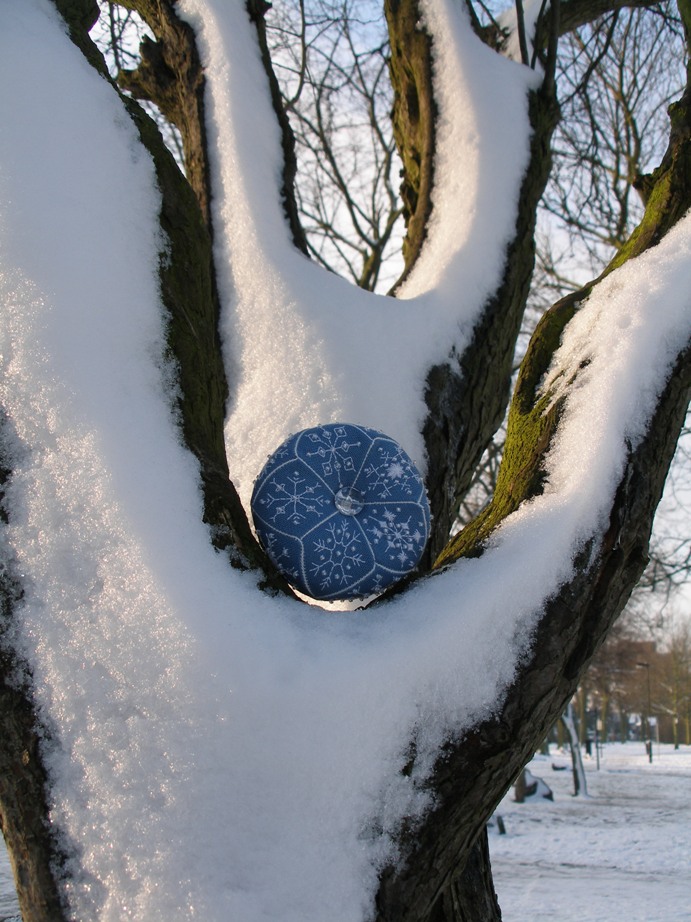
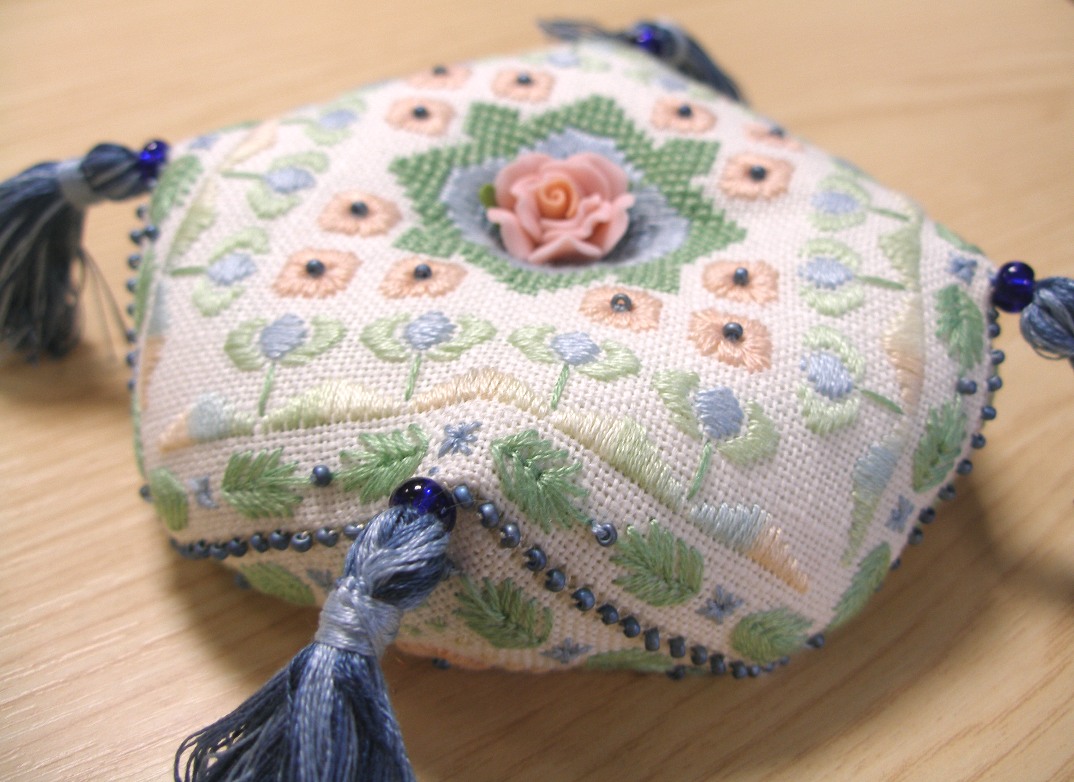
I've been a bit distracted from my planned stitching recently (this seems to be happening faaar too regularly these days) by the above 15 sided biscornu or banurukotti. I first saw these last year
here on this Russian blog and then saw that
Anita had designed
this lovely one too. Somehow the idea of making this kind of thing with a snowflake pattern caught my imagination, but I just didn't manage to find the right snowflakes to stitch.
At last, a couple of weeks ago, I saw
this post from
Janet Perry for the snowflakes on her
December twinchy. That got me started! Janet's snowflakes were just perfect for what I wanted to do, so I printed off the charts and got started.
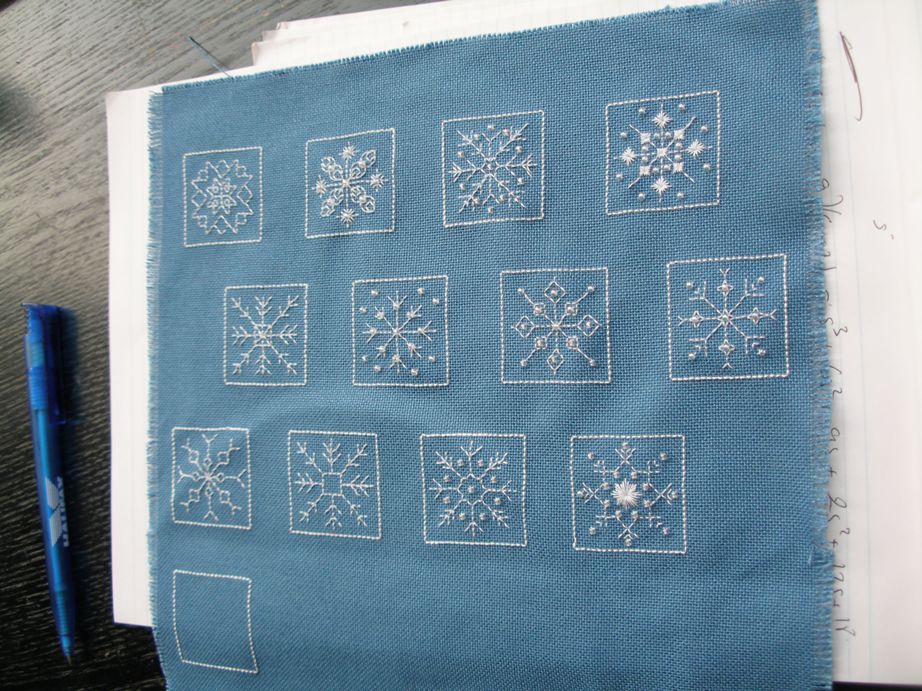
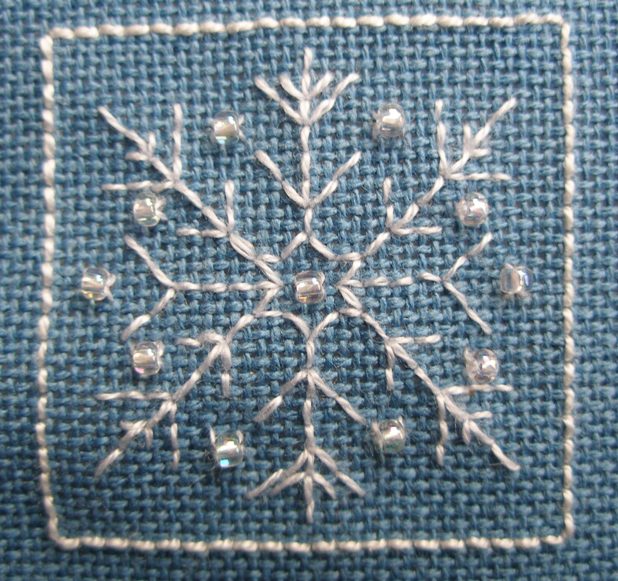
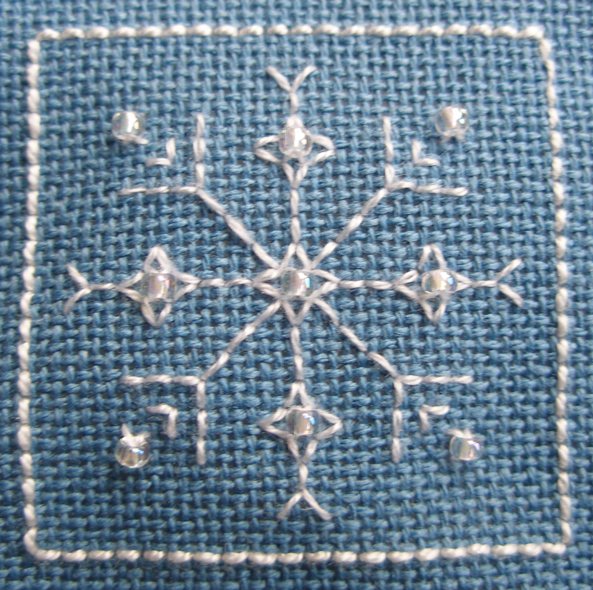
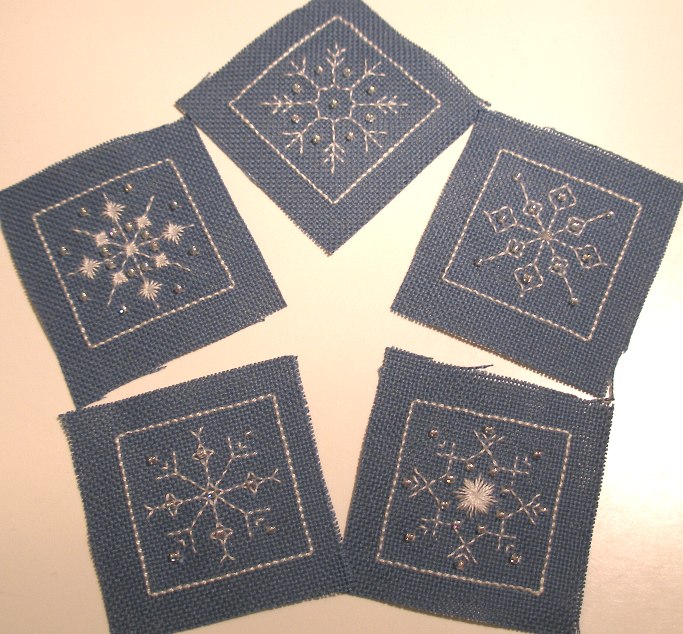
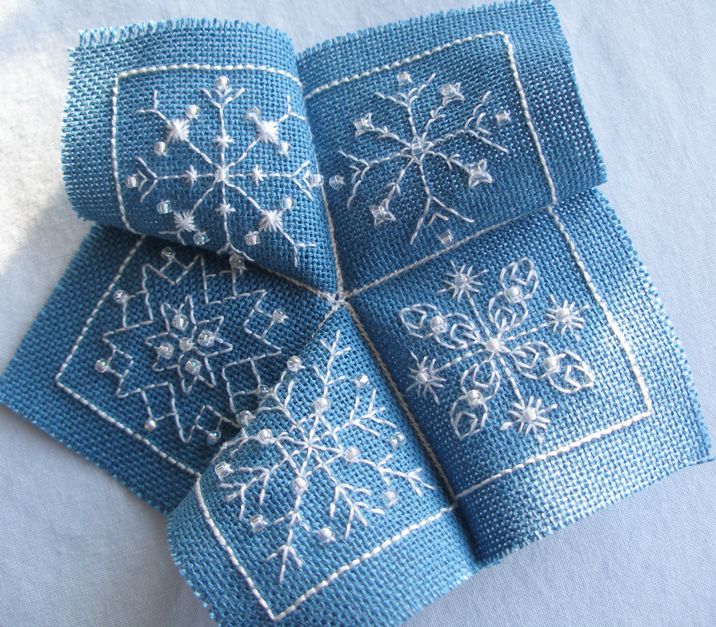
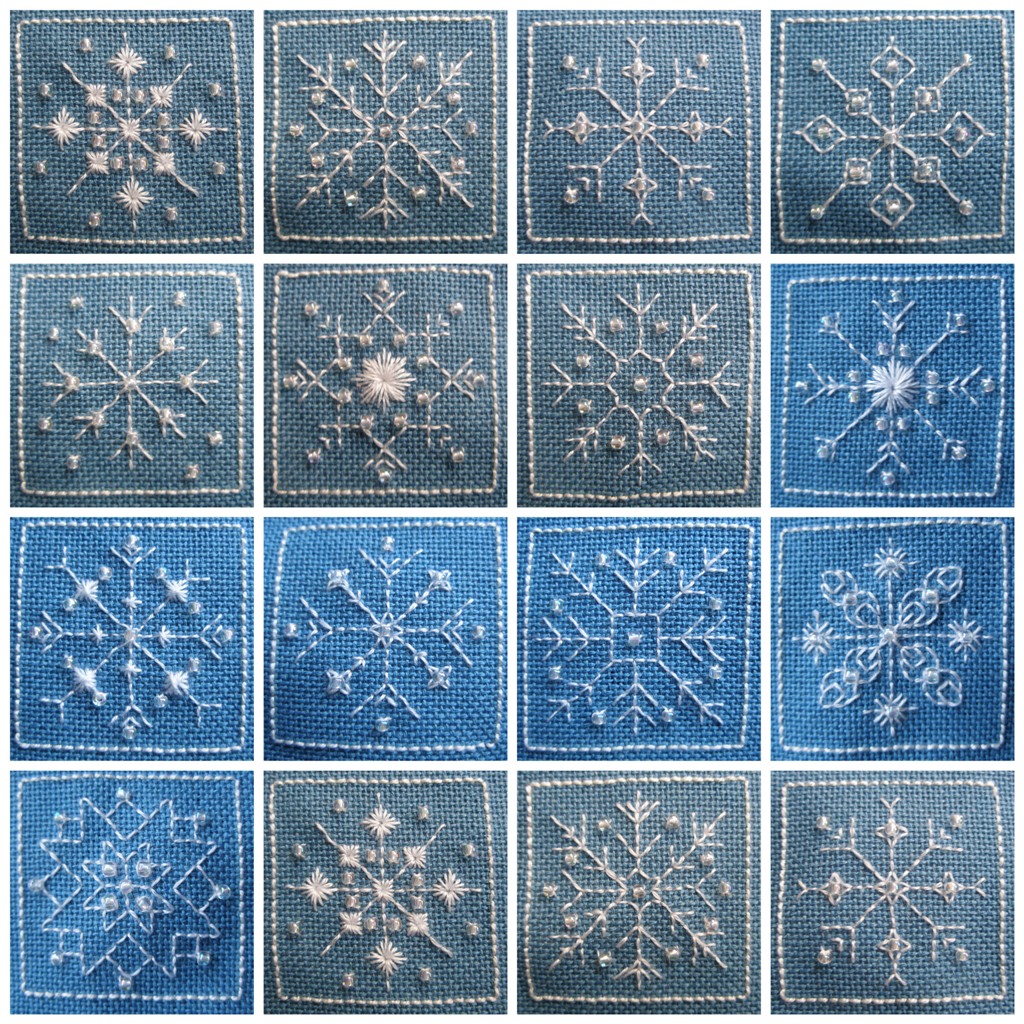
As I got going, I started playing around with Janet's snowflakes, adding beads and trying out different shapes and stitches. And before I knew it, I had ended up with 15 squares each with a different showflake!
Four of the snowflakes are Janet's, one or two were copied from images I found on the internet and the rest are my own. I might chart some of them sometime to share.
As all the tutorials I've seen for this type of biscornu have not been in English, I thought I'd write my own for anyone who's interested.
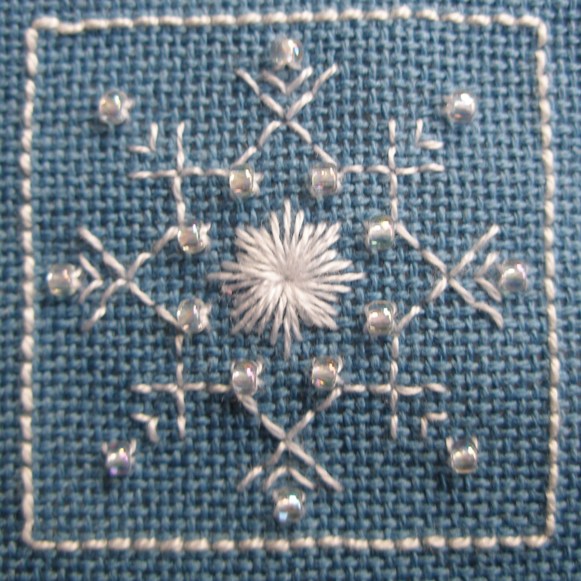
Step 1 - You need 15 stitched squares all the same size. The squares I used were all 20 x 20 stitches. As with a 'normal' biscornu, the outline round the edge of each square was done in backstitch and I used a #12 perle cotton.
When you have your 15 squares, cut them all out leaving a border of at least about half a centimeter.

Step 2 - I then divided my squares into 3 groups of 5 squares - 5 squares for the top, 5 squares for the bottom and 5 for the sides.
I then whipstitched the 5 squares for the top together.

When you have joined the 5 squares together, you will have a kind of 5 pointed star. Note that it will not lie flat, however hard you try.
Now, join the 5 squares for the bottom.
Step 3 - The next step is to join the side squares to either top or bottom. I've tried to show in the photo below how this works with the arrows showing which sides wshould be joined to each other.

You will end up with something like this.

Step 4 - Now you can start to join the bottom/top to the top/bottom plus sides in a similar way to that in which the sides were already joined. I haven't got a photo of this step - not quite sure how I would show it!
Only join about three quarters of the way round so that you leave a gap for stuffing. I use a general toy stuffing to stuff my biscornus.
Now, this is a point that I've never seen written anywhere for biscornus or anything else. When I make a biscornu, I sew on the central buttons before I've completed stuffing. I like to have my button in a reasonable indent in the middle of my pin cushion, so, in this case, I half stuffed my biscornu and then attached my button. Then I completed stuffing, working the stuffing around the threads holding the buttons, and stitched the opening closed.
Et voila!
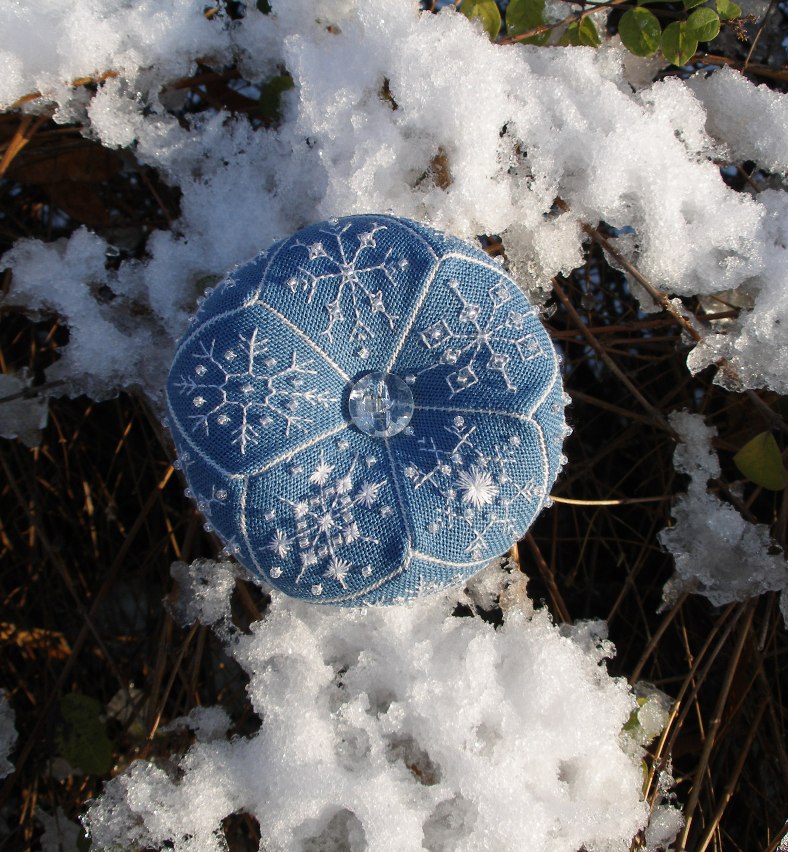
And if anyone saw a mad woman yesterday morning, wandering round Vicky Park with a pin cushion and a camera, yes, I confess, it was me!
~~~~~~~~~~~~~~~~~~~~~~~~~~~~~~~~~~~~~
And before I forget, you can still sign up for my PIF! I'll leave signups open until next Monday and then let you know the result. And for those who've asked, I'm quite happy to post overseas, so don't let that put you off!
~~~~~~~~~~~~~~~~~~~~~~~~~~~~~~~~~~~~~
The snowflake patterns I used in making my biscornu can be found on the following web pages of my blog:
Remember, I also used Janet Perry's December twinchy snowflakes. This gives you 12 snowflakes. I don't have another 3 to share at the moment, so you can either make up your own or wait patiently until I get around to thinking of some more.
My notes on an alternative 15 sided biscornu are here.

 'Earth laughs in flowers' is a great quote from E.E. Cummings and inspirational in its own way too. I love the way E.E. Cummings uses words.