Showing posts with label 15 sided biscornu. Show all posts

Sunday, September 05, 2010

15 again

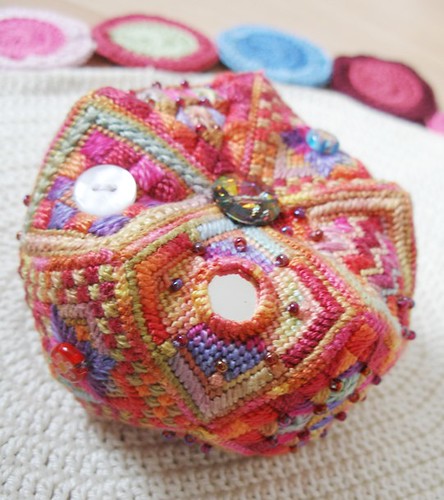
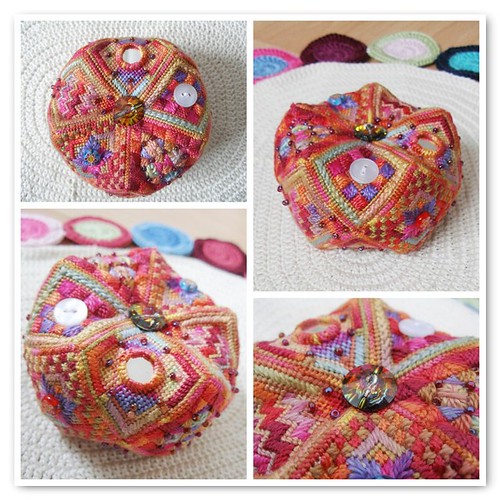
Here it is! Sue Hawkins 15 sided canvaswork biscornu from the current issue of Stitch magazine. As soon as I saw it, I just couldn't resist it!

15 sided canvaswork pincushion


The stitching itself was fun, and I loved stitching each of the little squares. I particularly like the embellishment - just that little bit over the top for a pincushion! And I was really glad of the excuse to give Shisha a go. I really have been meaning to try it for a long time, but, as usual, never got round to it until now.

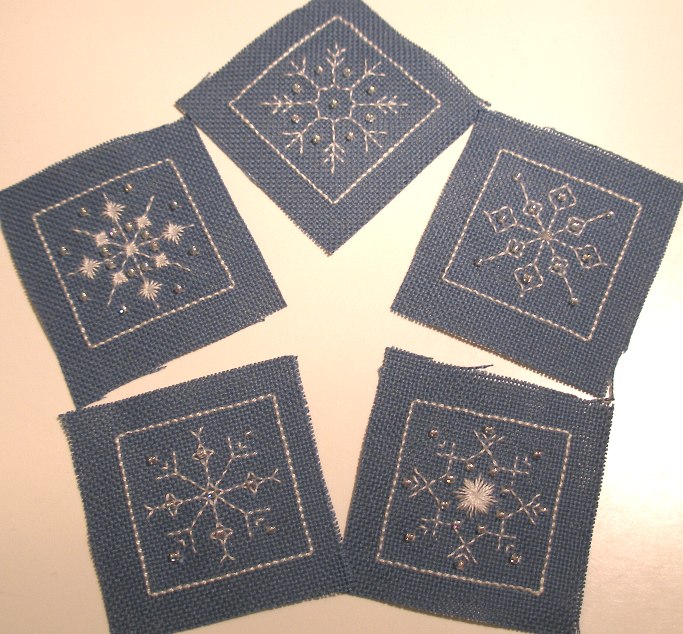
5 squares


I did change the design of one square which originally included Queen stitch. I'm not a fan of Queen stitch and just didn't think it added anything to the design here, so I used Star stitch instead.

However, there is one thing about the design and the magazine article that really annoys me. I've seen it in other magazines and other articles too-it's the use of obscure thread brands that are difficult to get hold of. The design as published uses Oliver Twists thread and I know from previous experience that few shops stock this brand. In the past I've completely given up on getting any. This time I tried a bit harder and managed to get hold of one of the required threads, but in the end I still gave up and used Watercolors instead. Don't mistake me - I love the end result, but I did start out wanting to use the original colours.

Who is the target audience of these designs and the magazines? Perhaps professional embroiderers might have access to a wider range of threads. However, I wound have thought that the casual, hobby stitcher like me would prefer to use materials that are readily available. What do you think?

15 sided canvaswork pincushion

I know that some magazines will suggest stockists of materials, but even then they don't necessarily stock everything that's required. In this case, Stitch magazine does not even go as far as suggesting stockists.

So this project has ended very well - I love the Swarovski buttons I've used - but it started out very frustratingly and I had to spend more money getting threads in the colours I wanted than I would have wished. I think a letter to the magazine may be in order.

15 sided canvaswork pincushion

Tuesday, October 13, 2009

Ups and downs

Things have been a bit rough at work since I went back in January. It came to a head a couple of weeks ago and as a result of that I have a meeting on Thursday. I don't know what's going to happen but I'm keeping my fingers crossed that things will change for the better.

Anyway, it's all got me rather jittery and depressed at the moment. I feel like I don't know where I'm going. I just focus on my two beautiful children and make the most of the time I have for my stitching.

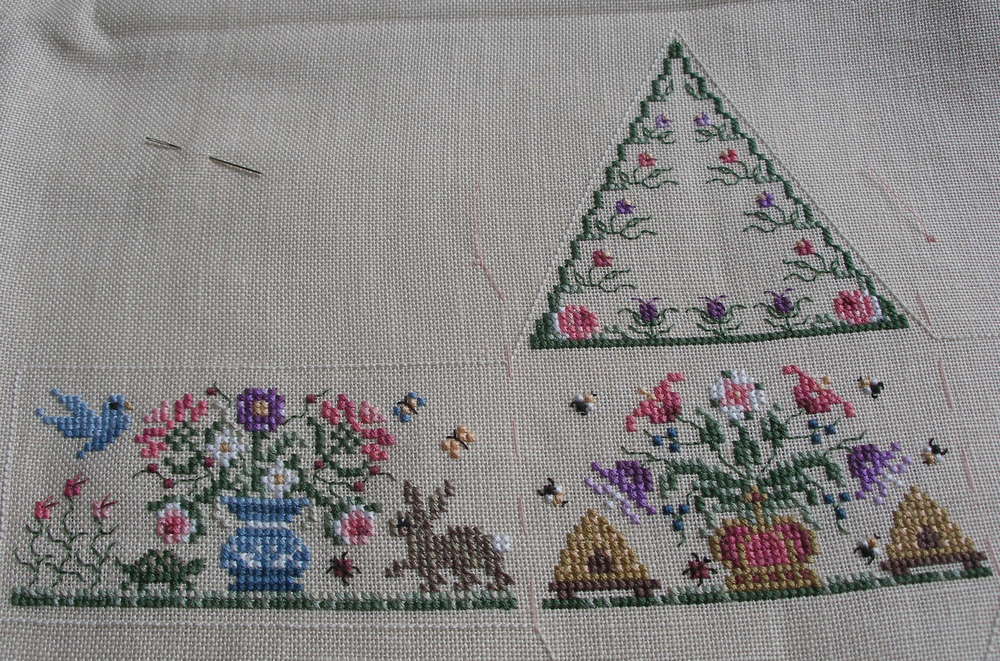
So I've been having fun with my Bluebird box and am really surprised at how quickly I'm getting through it.

Work in progress - after week 3

Progress has slowed this week as I really need to get organised for the after school club I'm going to be taking!

And I haven't shown you this.

Felty fifteen

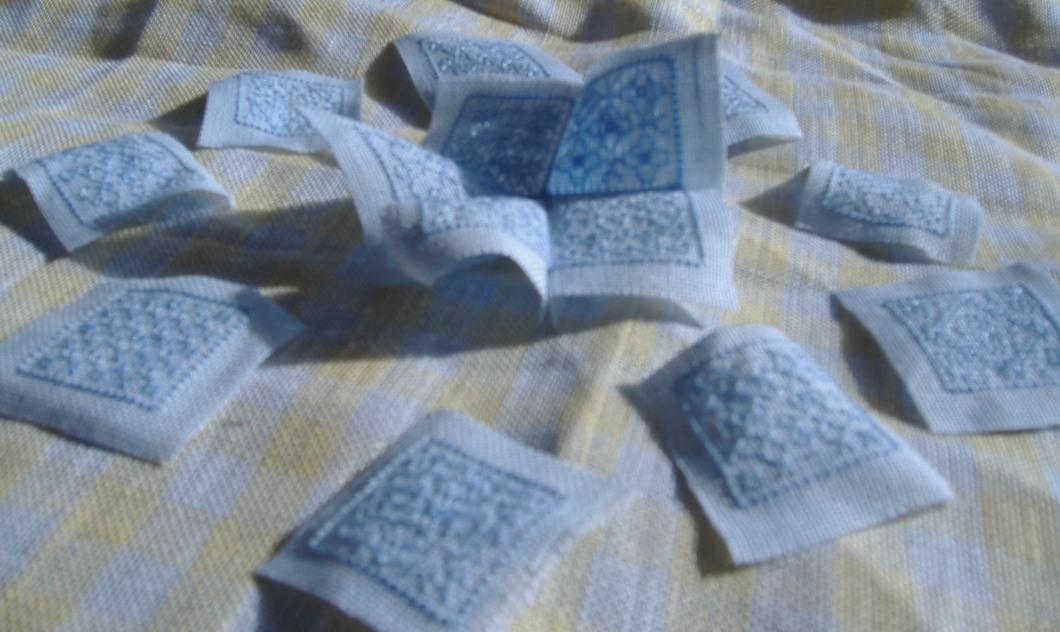
A fifteen sided bircornu in felt - I just wanted to see how it worked out in felt.

And as you might have noticed, it's now settled that I'll be teaching an after school club at Alexander's school from the end of this month. We're going to make Christmas ornaments. I bought a book to put together some ideas.


A Cross Stitcher's Countdown to Christmas - I'm really glad I did get this book - there are so many designs in it I'd like to stitch!

Wednesday, June 24, 2009

A Patchwork of Stars

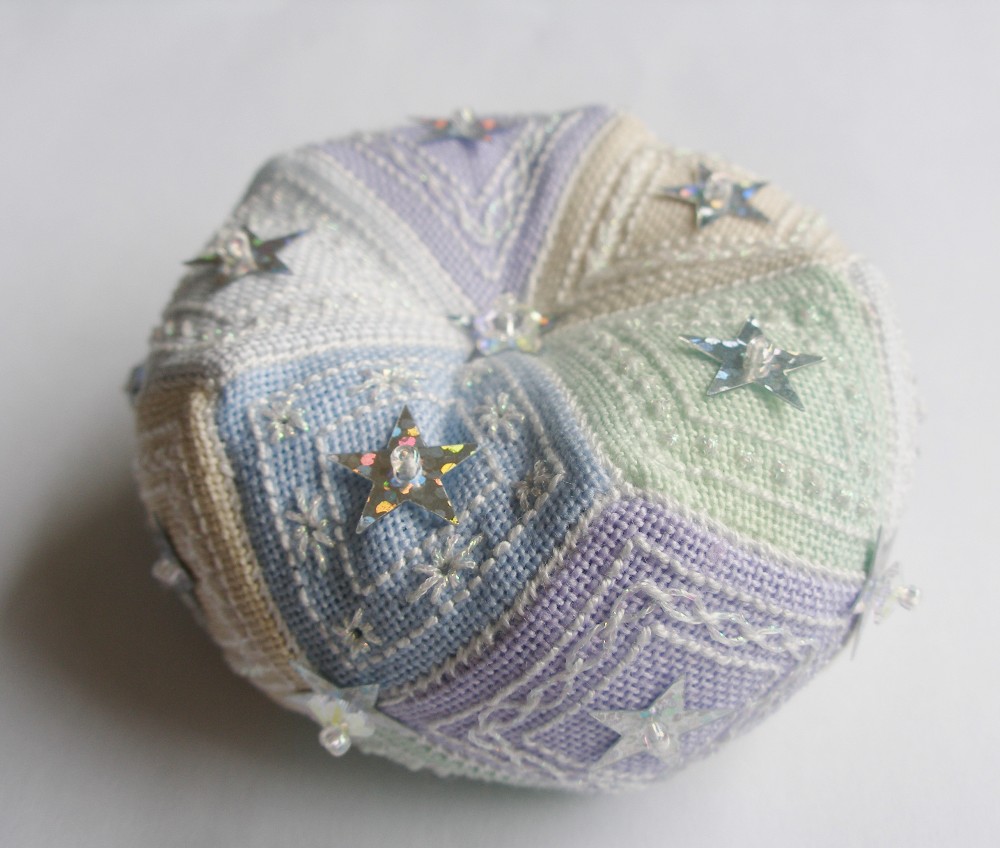
I didn’t manage to stitch a biscornu for the SAL in May, but I’m back on track again in June!
A Patchwork of Stars


A Patchwork of Stars 15 sided biscornu

The design is entirely my own, inspired by the way I saw the backstitched squares being distorted as I stitched together my 15 sided Snowflakes biscornu in January. I wanted to make one where the outline squares were important, with something simple to decorate the centre of each square.

I also thought it would be fun and interesting to use different colours of fabric for the different squares, so I kept the floss colours very simple.
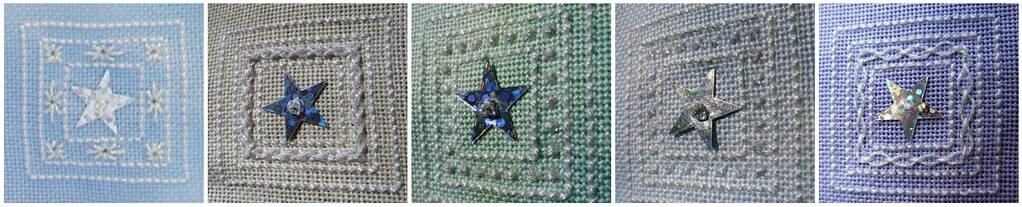
Star squares

Here are the details of the design. All stitches are over two fabric threads unless specifically stated otherwise. Three squares of each design should be stitched.

My biscornu uses Polstitches fabric as I had the different colours in my stash already - all are documented below. I'd love to see the fabric/colour combinations others come up with.


1. Cross stitch


Floss: #12 white perle cotton, Kreinik #8 fine braid shade 032.
Fabric: 32 ct jobelan ‘Rumbles of Thunder’ from Polstitches
Embellishment: 1 silver star sequin and 1 Mill Hill seed bead.

Stitch 3 concentric backstitch squares then one squares of cross stitches as marked by the black squares in the diagram.

The red square marks the centre of the design. At this point, I attach a silver star sequin using a bead to hold it in place, the needle going up through the fabric and the sequin, through the bead and then back down through the hole in the sequin and the fabric.


2. Smyrna cross


Floss: #12 white perle cotton, Kreinik #8 fine braid shade 032.
Fabric: 32 ct jobelan ‘Neptune’ from Polstitches
Embellishment: 1 silver star sequin and 1 Mill Hill seed bead.

Stitch 3 concentric backstitch squares then one squares of Smyrna cross stitches as marked by the starred squares in the diagram.

The red square marks the centre of the design. At this point, attach a silver star sequin using a bead to hold it in place, the needle going up through the fabric and the sequin, through the bead and then back down through the hole in the sequin and the fabric.


3. Interlace

I was very pleased and surprised at how this square worked out – the interlaced running stitch is perfect for what I wanted and it’s so simple to stitch.


Floss: #12 white perle cotton, Kreinik #8 fine braid shade 032.
Fabric: 32 ct jobelan ‘Imagination’ from Polstitches
Embellishment: 1 silver star sequin and 1 Mill Hill seed bead.

Stitch 3 concentric backstitch squares as in the diagram.

Next stitch a square of running stitch mid way between the two inner backstitch squares using white #12 perle cotton. Note that the length of each running stitch is 1½ times the length of each backstitch, ie. each running stitch goes over 3 fabric threads.

The interlacing is done using Kreinik braid by weaving in and out of each running stitch. Work around the running stitch square twice, once following the red curves, once following the green curves.

More information on interlaced running stitch, with diagrams, can be found here.

Attach a sequin in the centre, as for the other squares.


4. Eyelets

I really like these elongated eyelets in the middle of each side!


Floss: #12 white perle cotton, Kreinik #8 fine braid shade 032.
Fabric: 32 ct jobelan from Polstitches (can’t remember the colour at the moment – need to check when I go home!)
Embellishment: 1 silver star sequin and 1 Mill Hill seed bead.

Stitch 3 concentric backstitch squares as in the diagram.

Using the Kreinik braid, stitch the square and elongated eyelets according to the diagram, the needle coming up through the fabric at the outer edge, and back down in the centre.

Attach a sequin in the centre, as for the other squares.


5. Double herringbone


Floss: #12 white perle cotton, Kreinik #8 fine braid shade 032.
Fabric: 32 ct jobelan ‘Mummies Curse’ from Polstitches
Embellishment: 1 silver star sequin and 1 Mill Hill seed bead.

Stitch the 3 concentric backstitch squares as in the diagram.

Between the two inner squares, stitch a square of double herringbone stitch following the diagram below. Stitch following the black line first using #12 perle cotton. Second, stitch the second, red line on top using the Kreinik braid.

Attach a sequin in the centre, as for the other squares.


Instructions for making up a 15 sided biscornu can be found here.

Alternatively, all 15 squares could be stitched using the same design, if you particularly like one of those above, or if you don't feel adventurous enough to try the different stitches. And of course, each of the small square designs could be used on their own to make a scissor-fob or mini-biscornu!

A Patchwork of Stars

I hope all this makes sense! If any of it is unclear - please let me know!


And if you stitch any of these little designs, or the whole biscornu, then let me know and send me a photo! (Email address in my profile!)


Now, what sort of biscornu will I stitch for July? Hmmmm.......

Wednesday, March 11, 2009

Slightly different (alternative 15 sided biscornu)

28 comments
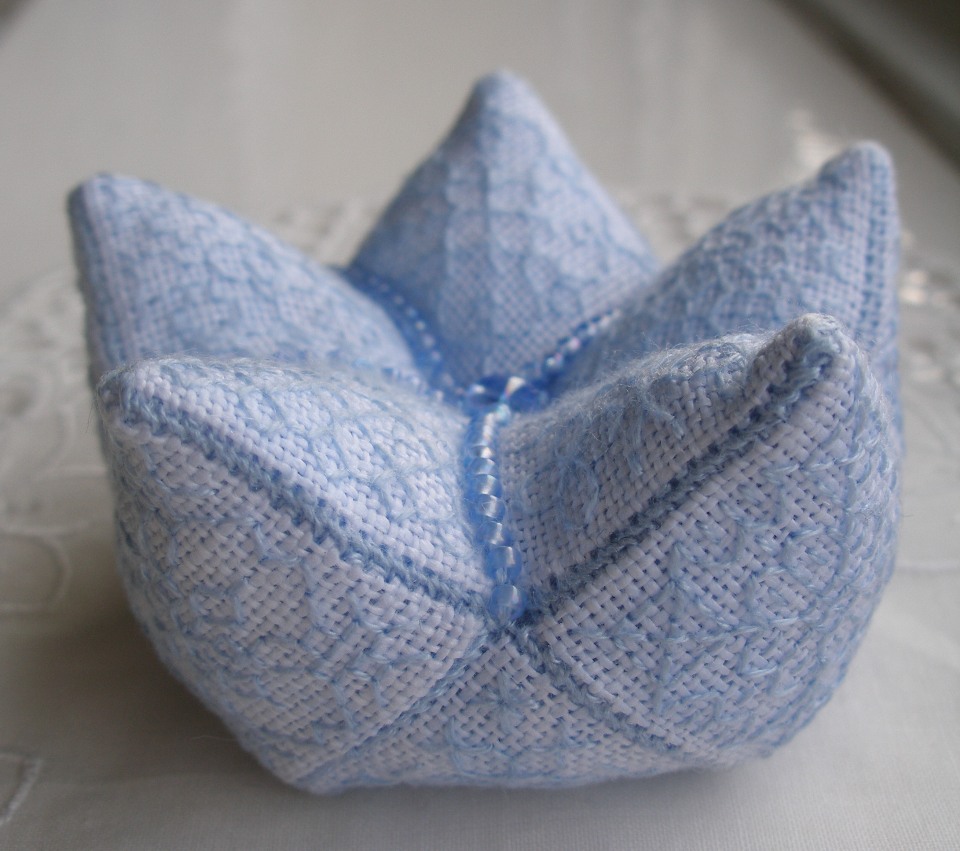
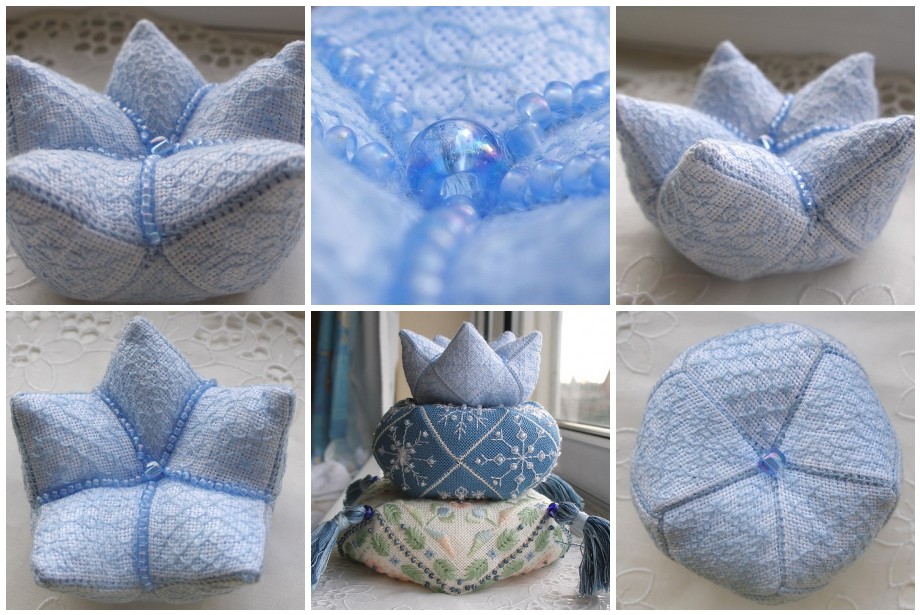
While I was off work last week, I finished off my biscornu using the blackwork designs from Anita at Stitch Creations. I still finished it as a kind of 15 sided biscornu, but slightly different!


P3111085

Following this idea, I attached the top on a different orientation - very simply but a very different result!

I've stitched it on 32ct Vintage Blue Zweigart linen using DMC 3840 (I think) - I should maybe have used a darker blue floss, but I still like it as it is. The beads are Mill Mill seed and pebble beads.

The way to make this kind of shape is very similar to making the more rounded 15 sided biscornu.
  • Stitch your 15 squares, all the same size.
  • DSCF0395

  • Join 5 together to for the top and another 5 for the bottom - you will have 5 left for the sides. Join the five sides to either the top or the bottom - this will give you a kind of bowl shape.
  • I realised something at this point that I could do to illustrate the difference between the two kinds of 15 sided biscornu -

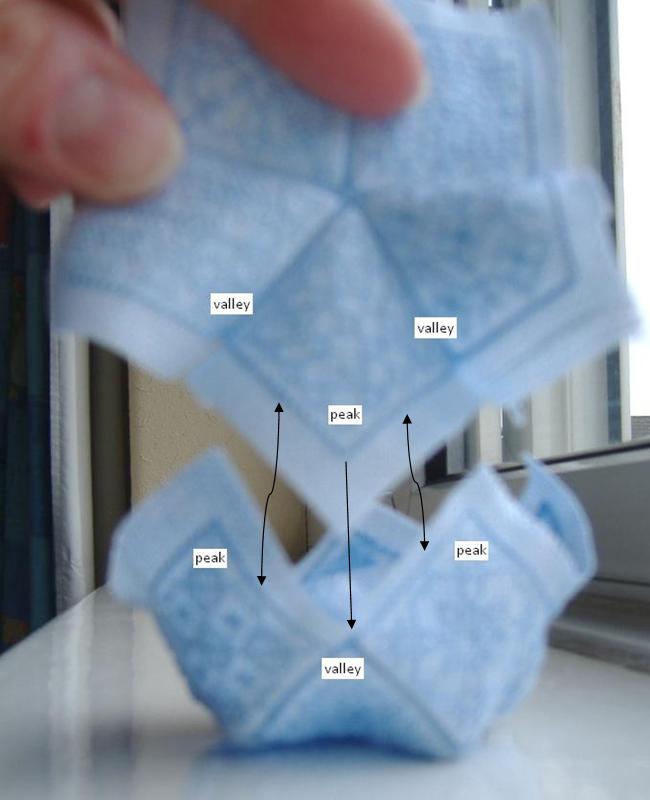
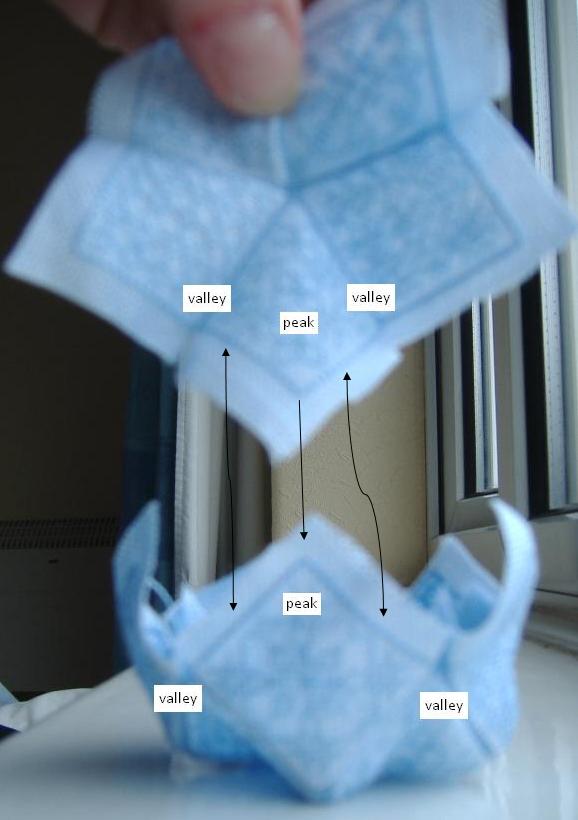
    For the 'normal' rounded version, join the 'peaks' of the flattish side to the 'valleys' of the bowl.
    DSCF0413

    For the alternative version, join the 'peaks' of the flattish side to the 'peaks' of the bowl.
    DSCF0412

    Remember to leave a gap to stuff your biscornu and then sinish stitching together. I found the final stitching together a bit more awkward for this alternative version than previously. Of course, it didn't help that it wasn't until I had finished sewing it all together that I decided to add the beads to the top!

I hope this sense - just the simple change in the orientation of the top makes a complete difference to the final item!

Slightly different


My original 15 sided biscornu tutorial with more detailed instructions can be found here.

Wednesday, February 04, 2009

Snowflakes in the Snow (with 15 sided biscornu tutorial)

85 comments
Long post with lots of photos, but hopefully useful information!


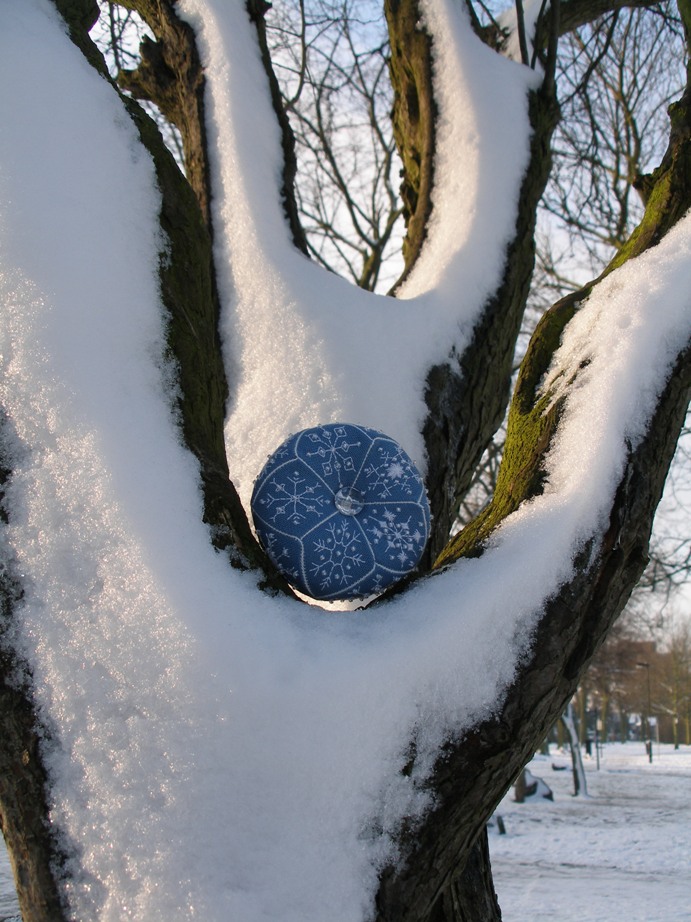
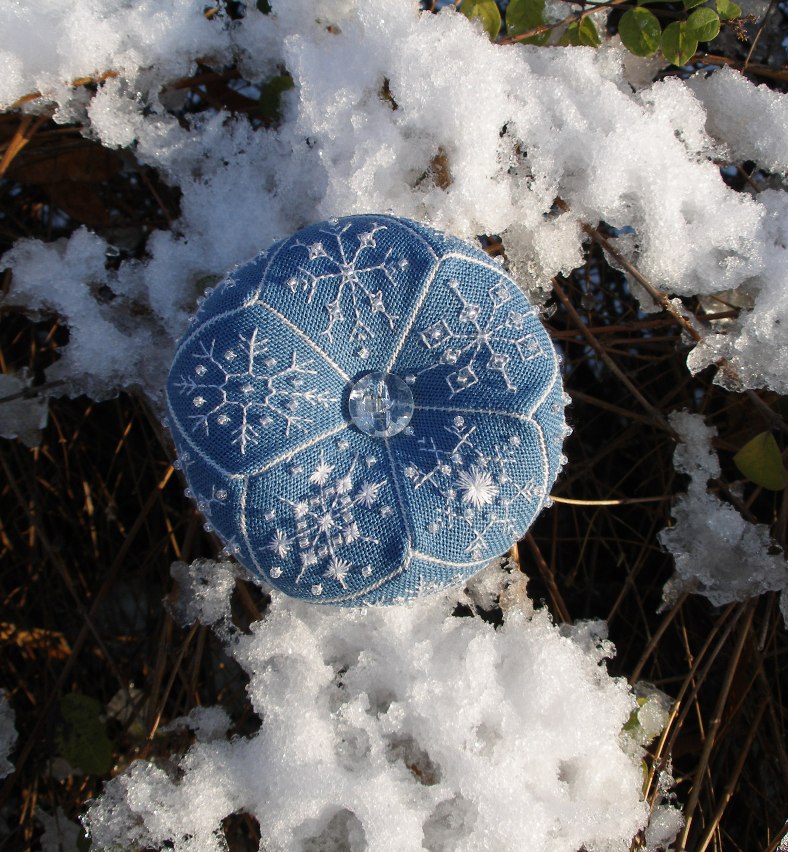
Snowflakes in the Snow

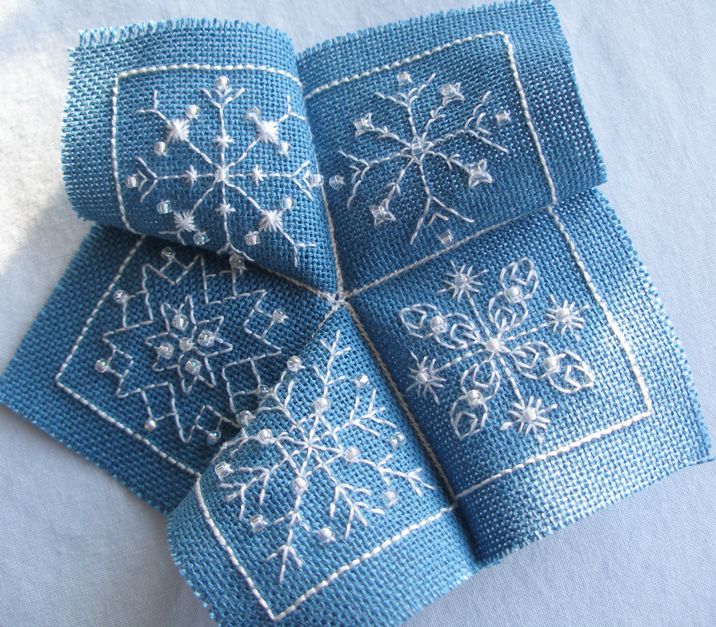
I've been a bit distracted from my planned stitching recently (this seems to be happening faaar too regularly these days) by the above 15 sided biscornu or banurukotti. I first saw these last year here on this Russian blog and then saw that Anita had designed this lovely one too. Somehow the idea of making this kind of thing with a snowflake pattern caught my imagination, but I just didn't manage to find the right snowflakes to stitch.

At last, a couple of weeks ago, I saw this post from Janet Perry for the snowflakes on her December twinchy. That got me started! Janet's snowflakes were just perfect for what I wanted to do, so I printed off the charts and got started.


P1300773

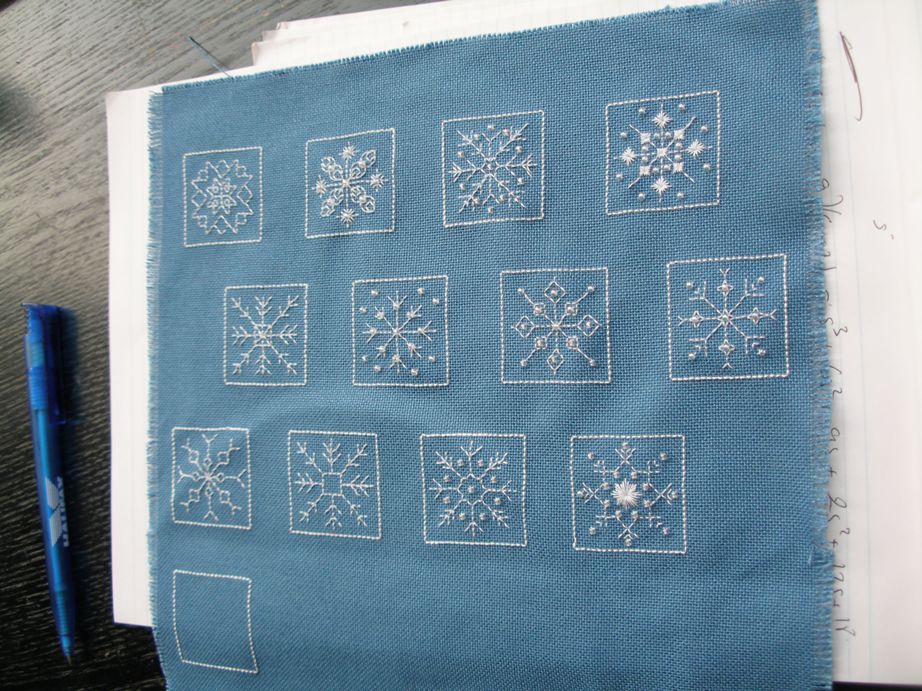
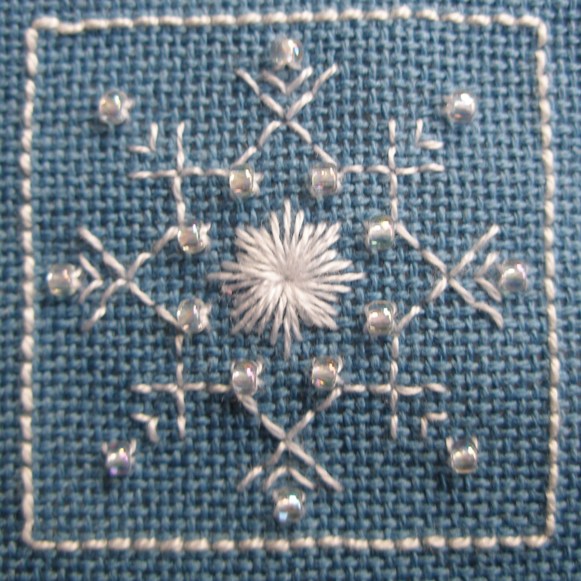
As I got going, I started playing around with Janet's snowflakes, adding beads and trying out different shapes and stitches. And before I knew it, I had ended up with 15 squares each with a different showflake!

Four of the snowflakes are Janet's, one or two were copied from images I found on the internet and the rest are my own. I might chart some of them sometime to share.

As all the tutorials I've seen for this type of biscornu have not been in English, I thought I'd write my own for anyone who's interested.


P1300771

Step 1 - You need 15 stitched squares all the same size. The squares I used were all 20 x 20 stitches. As with a 'normal' biscornu, the outline round the edge of each square was done in backstitch and I used a #12 perle cotton.

When you have your 15 squares, cut them all out leaving a border of at least about half a centimeter.


P1310793

Step 2 - I then divided my squares into 3 groups of 5 squares - 5 squares for the top, 5 squares for the bottom and 5 for the sides.


P1310805

P1310804


I then whipstitched the 5 squares for the top together.


P1310807

When you have joined the 5 squares together, you will have a kind of 5 pointed star. Note that it will not lie flat, however hard you try.

Now, join the 5 squares for the bottom.


P2010817

P2010818


Step 3 - The next step is to join the side squares to either top or bottom. I've tried to show in the photo below how this works with the arrows showing which sides wshould be joined to each other.


putting-it-together

You will end up with something like this.


P2020816

Step 4 - Now you can start to join the bottom/top to the top/bottom plus sides in a similar way to that in which the sides were already joined. I haven't got a photo of this step - not quite sure how I would show it!

Only join about three quarters of the way round so that you leave a gap for stuffing. I use a general toy stuffing to stuff my biscornus.

Now, this is a point that I've never seen written anywhere for biscornus or anything else. When I make a biscornu, I sew on the central buttons before I've completed stuffing. I like to have my button in a reasonable indent in the middle of my pin cushion, so, in this case, I half stuffed my biscornu and then attached my button. Then I completed stuffing, working the stuffing around the threads holding the buttons, and stitched the opening closed.

Et voila!


Snowflakes in the Snow

And if anyone saw a mad woman yesterday morning, wandering round Vicky Park with a pin cushion and a camera, yes, I confess, it was me!


~~~~~~~~~~~~~~~~~~~~~~~~~~~~~~~~~~~~~
And before I forget, you can still sign up for my PIF! I'll leave signups open until next Monday and then let you know the result. And for those who've asked, I'm quite happy to post overseas, so don't let that put you off!


~~~~~~~~~~~~~~~~~~~~~~~~~~~~~~~~~~~~~


The snowflake patterns I used in making my biscornu can be found on the following web pages of my blog:

Remember, I also used Janet Perry's December twinchy snowflakes. This gives you 12 snowflakes. I don't have another 3 to share at the moment, so you can either make up your own or wait patiently until I get around to thinking of some more.

My notes on an alternative 15 sided biscornu are here.