Monday, April 30, 2007

Stitching to a deadline

11 comments
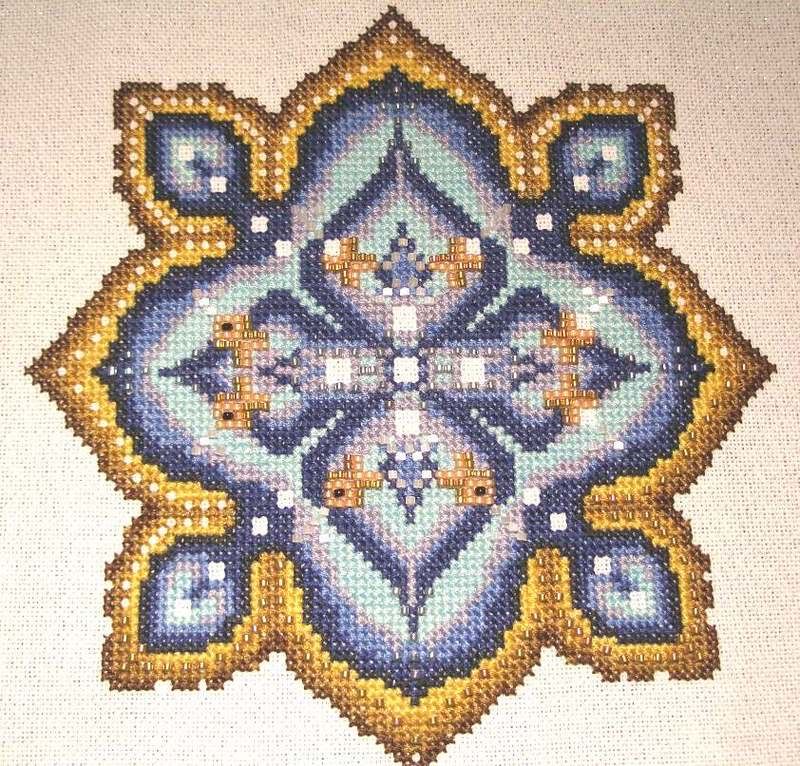
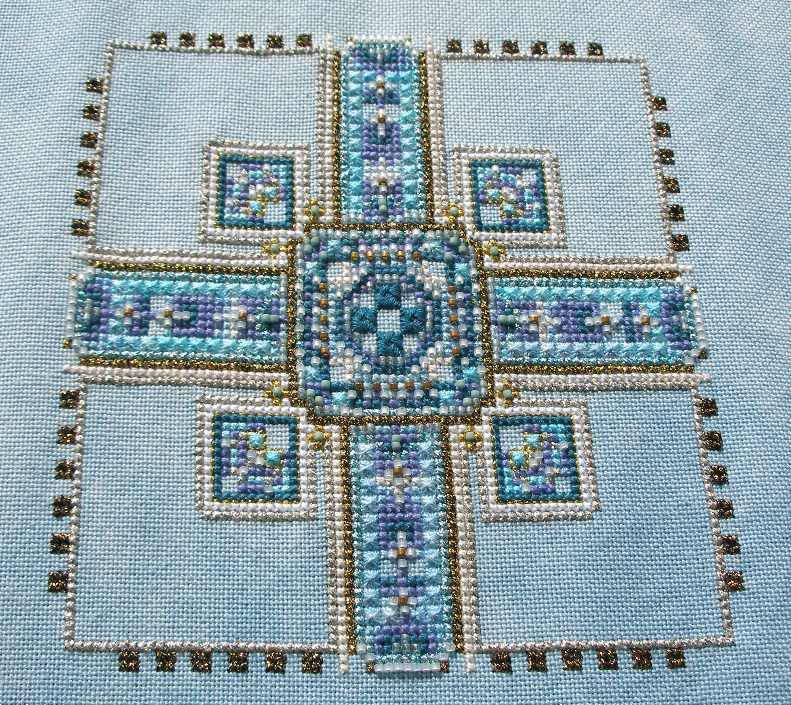
I finished my Part 2 of St Petersburg at the weekend, with 2 days to spare before part 3 is released tomorrow. That was cutting it just a bit too fine for me. I’ve decided I really don’t like stitching to a deadline like that. By Friday evening I was just about sick of the sight of Algerian Eyelets and was relieved to get them finished and out of the way early on Saturday.

The deadline was entirely self inflicted as I didn’t get started on part 2 until after I came back from Scotland on the 13th. And yes, I know that it’s not compulsory for me to stitch each part of St Pete within the month when it is released, it’s just me! If I can do it, I HAVE to, and I’ll push myself to do it, getting completely stressed out along the way.


However, from a designer’s point of view, 'deadlines' like this must be very useful. With a large project like St Petersburg, releasing the chart bit by bit ensures interest is retained throughout the length of the project. I suspect the 'drip-feed' approach in this way means more money for the designer.

I’m sure a lot of stitchers would be completely overwhelmed if handed a chart like this all in one go. The 'drip-feed' is therefore also beneficial to the stitcher.

And on the plus side for both stitcher and designer, one design successfully completed this way is likely to encourage the stitcher to come back for more, and to encourage more stitchers in to this way of working.

However, from my point of view, deadlines are all very well, as long as I have plenty of time to keep up with them. I’d never make it as a model stitcher!

Wednesday, April 25, 2007

Inspired by Piglet

3 comments

I've been inspired by Piglet (as in Winnie the Pooh which was in the cassette player in the car) and I'm trying to start each new day thinking "I wonder what will happen exciting today?"

So what did happen exciting today?

The Needlework Show has reopened!

I've bought some stash to stitch Bent Creek's Red Thread snappers.

And lots of lovely people have been leaving comments on my blog! Thanks to every one of you. It really brightens my day when I read all your lovely comments!


Your Brain is Blue

Of all the brain types, yours is the most mellow.
You tend to be in a meditative state most of the time. You don't try to think away your troubles.
Your thoughts are realistic, fresh, and honest. You truly see things as how they are.

You tend to spend a lot of time thinking about your friends, your surroundings, and your life.

Tuesday, April 24, 2007

Stitching alfresco

4 comments
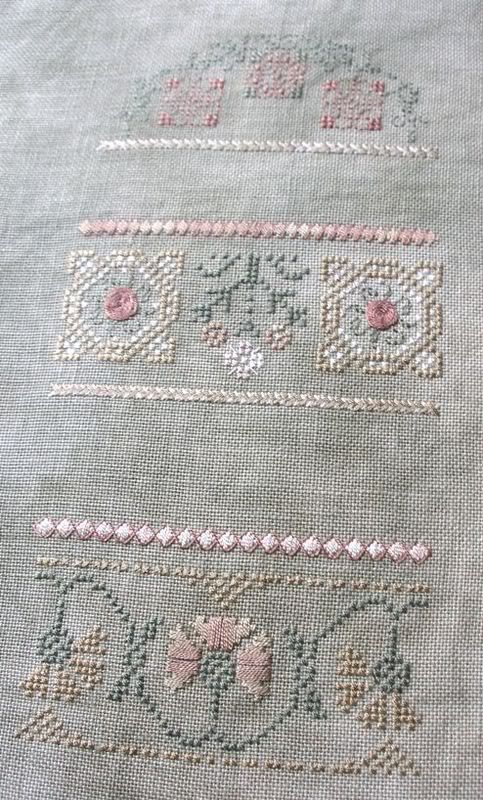
I've picked up my Mystery Huswif again in the last week and am relieved to be enjoying it again! When I last stitched on it, stress at work was translating into stressful stitching at work and I therefore just wasn't enjoying it.

Over the Easter holiday, I decided I needed to get away from my office more at lunchtimes, particularly as I'm so near to a park. So last week, as the weather was good, I took my huswif and went out and sat in the park for a spot of alfresco stitching.

I've made good progress on my huswif, completing band I. I changed a few of the colours and am rather pleased with the result. I've now also started thinking about the alphabet bands that I've omitted and have ideas as to what to put in their place. I particularly fancy doing an interlaced herringbone band.

The light outside really brings the thread colours to life and I liked the design a whole lot more when I saw it outside. The Burnished Gold thread really does look like burnished gold when you see it in good light. The fabric too is a mich nicer colour when seen outside.


But I have a problem with this. A huswif is a sewing accessory and not specifically designed for outdoor use. Most of my stitching takes place indoors and in the evenings when the natural light is fading. So why should I stitch a stitching accessory whose colours I can only really appreciate outdoors?

And who is to say what is the 'true' colour of a fibre or fabric anyway?

I'm glad the alfresco stitching was a success. The wind wasn't too distracting and I didn't see or hear anyone commenting on the wierd woman doing sewing in the park! I went back to work far more at peace with myself than when I'd arrived. Unfortunately, the weather this week isn't so good, so I'm back to office stitching for now!

Any other alfresco stitchers out there?

Oh, and note to self, don't iron spider's web roses again!

Tuesday, April 17, 2007

Mice

12 comments
Apologies in advance if your PC can't cope with this post - there rather a lot of photos!

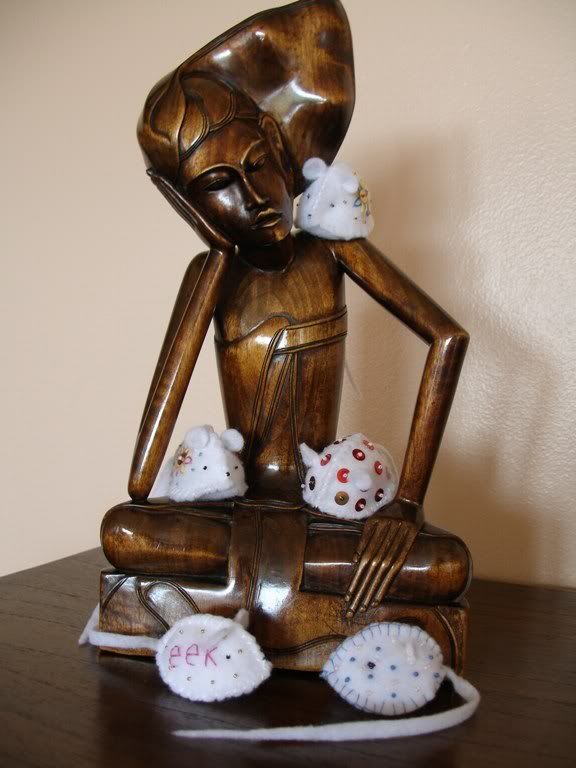
I saw these cute mice on Helen’s blog, Homespun Hearts. I realised, looking at them, that I would see how they were made. So, while I was away last week, I splurged on mouse-making! Now all the women in my family are proud owners of these little cuties!

How do you like the results?
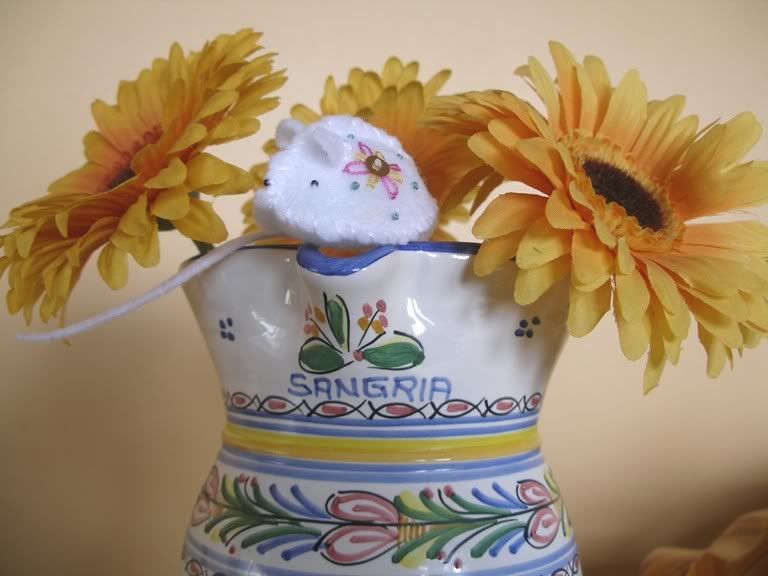

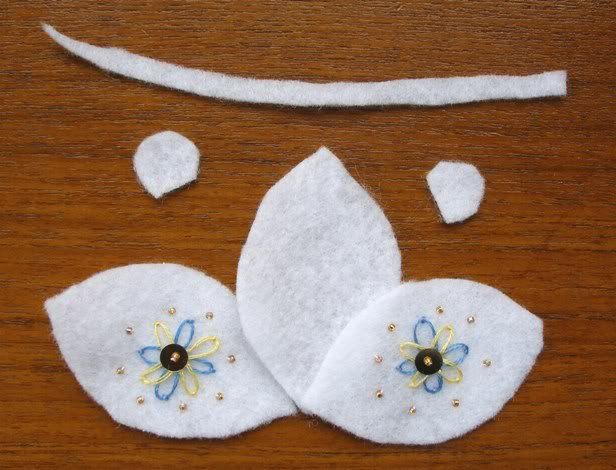
They’re really very simple to make. Each mouse is made from 3 identical leaf shaped pieces of felt, a long thin strip for the tail and a couple of small rough semi-circles for the ears.
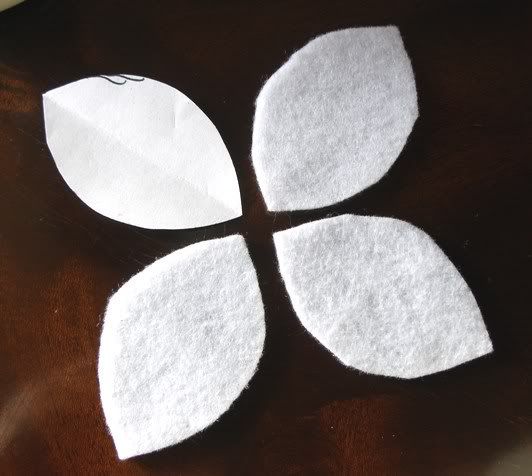

The 3 leaf shaped pieces will form the two sides and belly of the mouse. Before stitching any of the sides together, decorate two of them. Use your imagination here – anything goes – stitching, buttons, sequins – whatever takes your fancy!

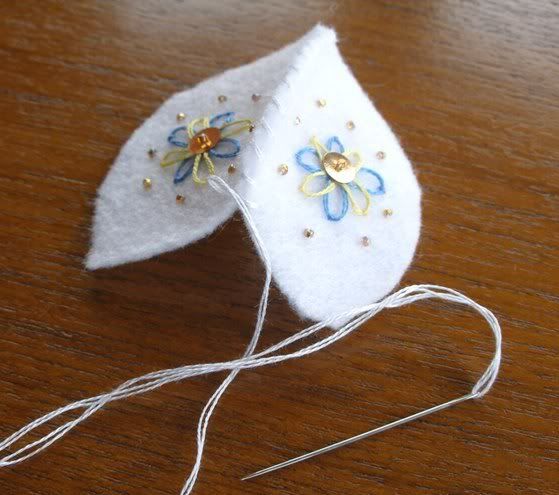
Now take two of the leaf shaped pieces and sew them together down one long edge. I mainly used a thread colour that matched the felt colour, but you could use a contrasting colour. Similarly, I simply oversewed the edges together, but you could use a more decorative stitch. I also used a fairly long piece of thread so that I would be able to use the same thread continuously.

When you reach the end of the two sides, stitch the third side in the same way on to the free edge of one of the first two sides.
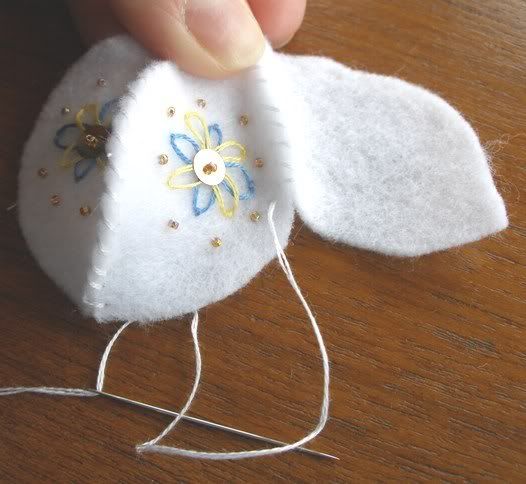

After stitching down this edge, you need to start stitching the remaining free edges together. I often put in an extra stitch or two at the end where all three pieces meet. When you get to about half way along this edge, stop stitching! You don’t, however, need to finish off your thread. You need to stop now and stuff your mouse. I have a little toy stuffing that I use for this kind of thing.
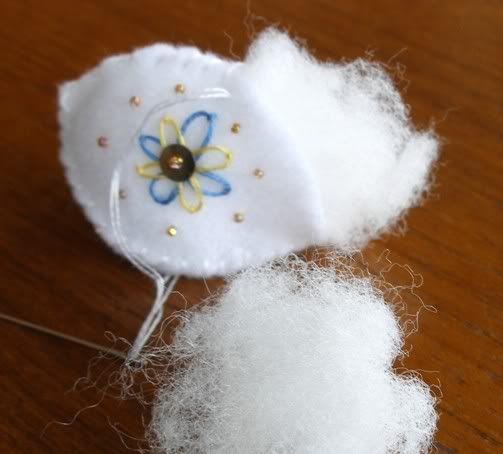

I didn’t stuff my mice too tightly, just enough to add a little padding.

After stuffing, you can continue stitching towards the end of this long edge, but again, stop a stitch or two before the end. In the gap, slide in the mouse’s tail, then fasten the edges of the gap together and add a stitch or two to hold the tail in place.
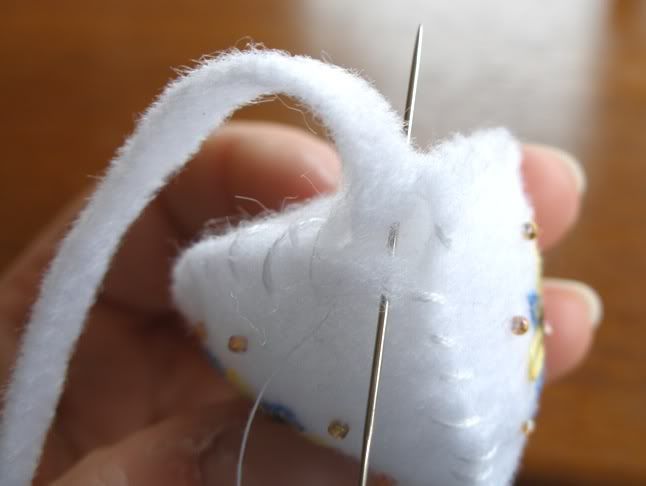

At this point, I would have an eyeless, noseless and earless mouse! Now I would add the eyes and nose – just a few small black beads or some black thread. Then on to the ears.

Before attaching the ears to the mouse, I fold the points at the outer edges of the semi-circle of felt in towards the centre of the base and put in a couple of stitches to hold them in place.
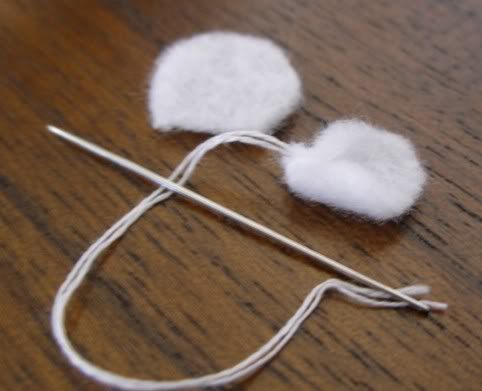

Then attach the ears to the mouse.

The mouse is now complete!
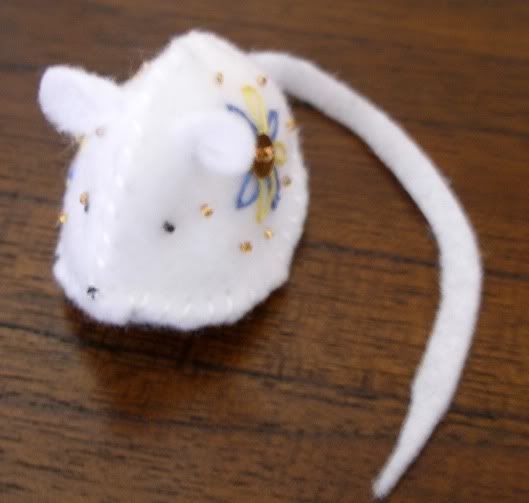

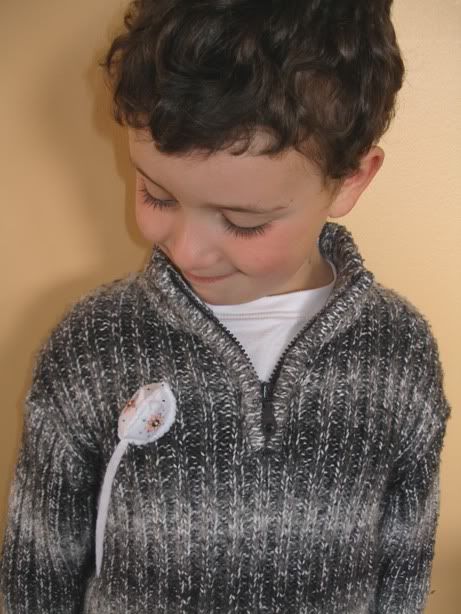
A little velcro stitched or stuck to the belly makes a little brooch.


Thursday, April 12, 2007

On Tintock Tap …….

5 comments
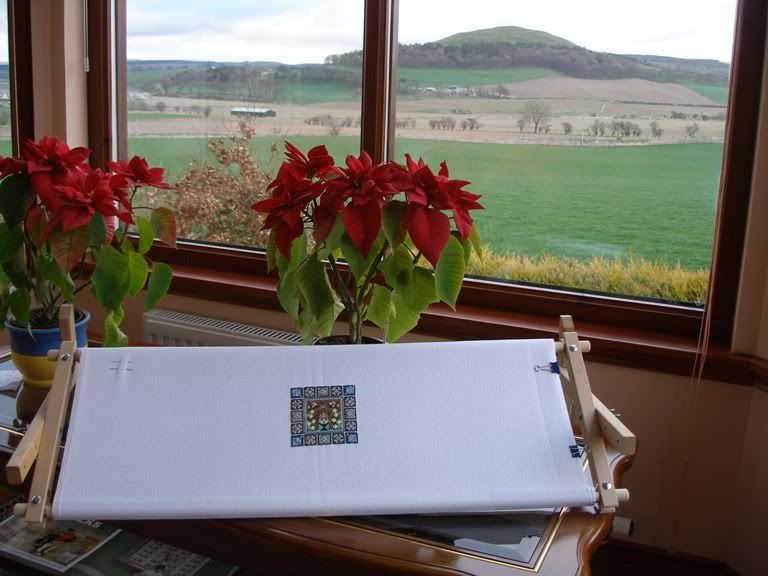
I’ve been on holiday from work this week, staying with my parents in south Lanarkshire. The scenery is beautiful, weather great, and as usual, it's going to be a wrench to leave and head down south again tomorrow.

This is the view I have to look out on while doing my stitching –


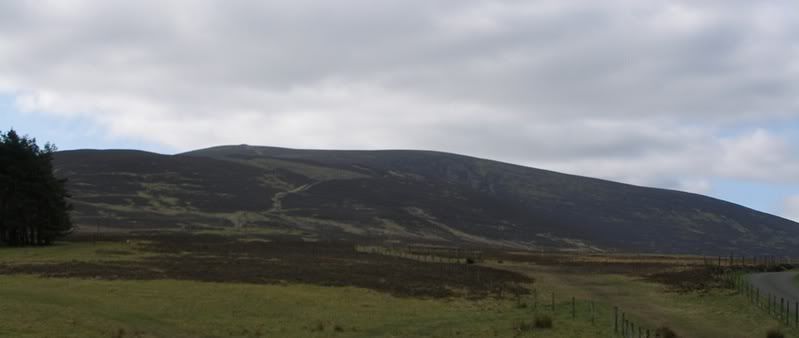
The hill is Quothquan Law. Behind me and beyond a row of houses and some fields is Tinto.


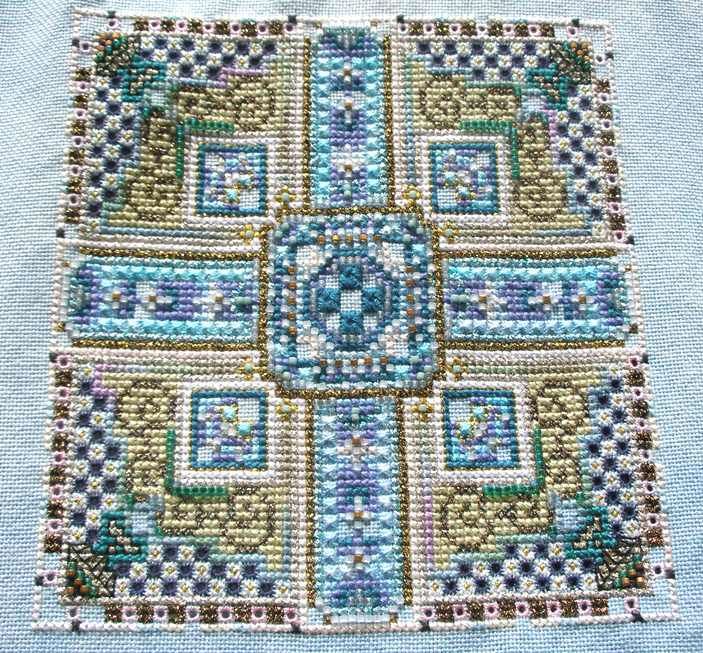
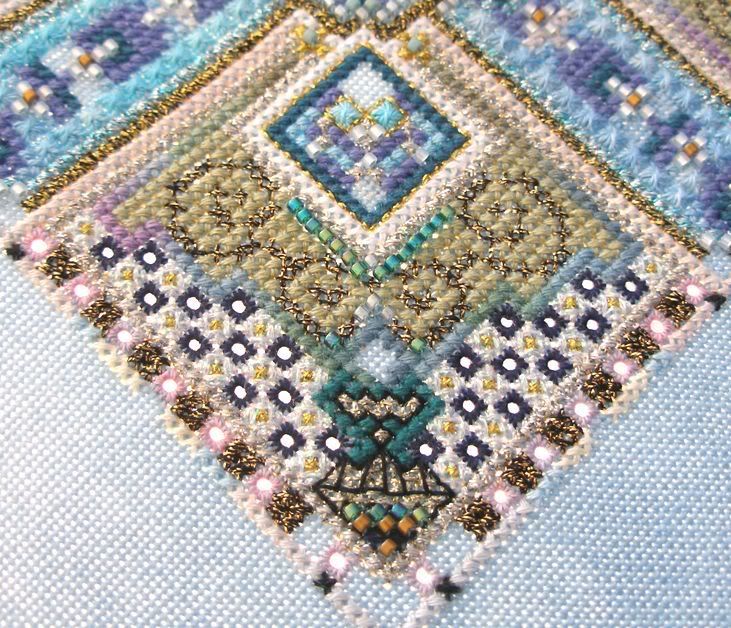
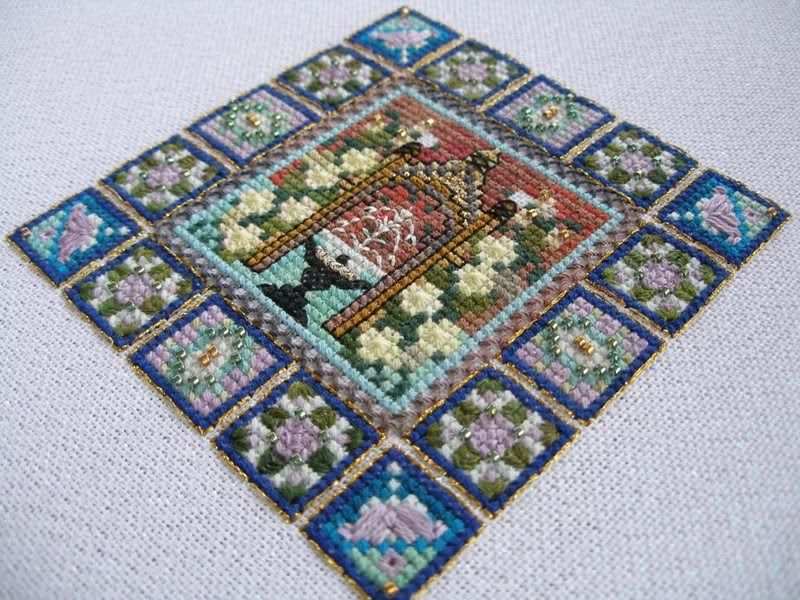
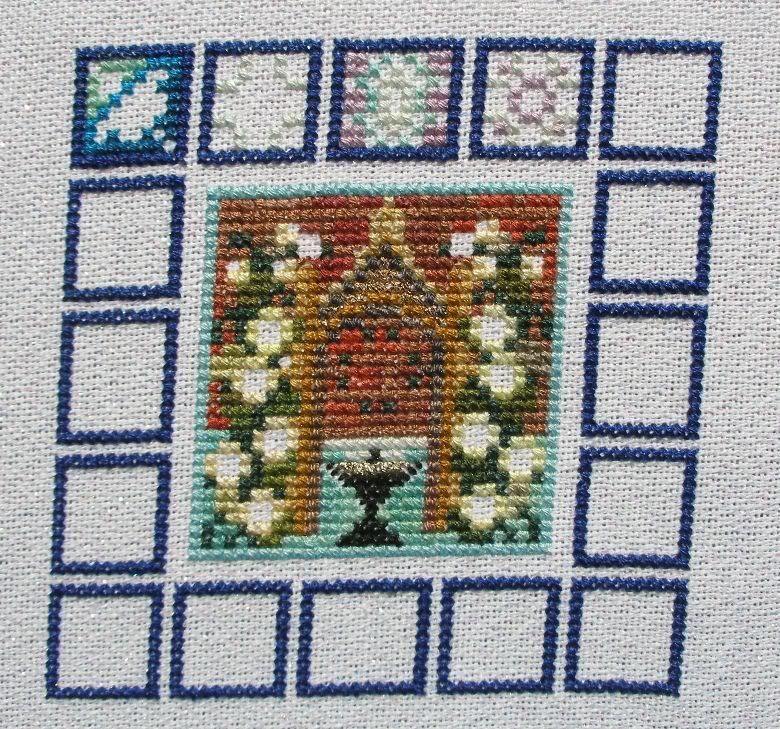
The stitching you may have noticed is Medieval Town Mandala. Despite having part 2 of St Petersburg to work on, I didn’t particularly want to dismantle and transport my huge scroll frame, so MTM it is this week. I’ve now completed part 1, despite a little confusion over the backstitching (despite looking at both colour and black and white charts, I still wasn’t completely certain how it worked). The fountain also took me 3 goes.

Anyway, I’m now making excellent progress on part 2, after checking other stitchers’ work on the Internet to be sure it really does come so close to part 1. I’m not entirely certain of the benefit of the gold backstitching round the blue flower beds in part 1 when the gold border, although a different shade of gold, lies so close in part 2.


Finally, the doting mum takes over as we climbed Tinto this morning. It’s the first time my 6 year old son has done anything like this and I’m very proud of him!


It’s the cairn on top of Tinto that the Tintock Tap rhyme refers to.

Tuesday, April 03, 2007

March roundup

3 comments
There are a few things I've been stitching that I haven't got round to posting photos of, so I thought I'd sum things up here.

Watergarden - I haven't stitched this since the beginning of March and am going temporarily retire it from my WIP list as others will be taking priority.

One of the things with all Chatelaines is the amount of beading involved. I didn't fancy the idea of leaving it all to the end, so decided that I'd add the Delicas in stages. At the end of February, I reached a point where I'd finished the central blue section and started the surrounding border, so I decided it was time to do a little beading.


Part 1 of St Petersburg became available at the beginning of March and I was really pleased to complete the stitching and add the Delicas on schedule, even with a week left over at the end of the month! My monster scroll frame made an enormous difference.


Part 2 was released last weekend, so I'm hoping to get started this evening!

In the last week of March, I picked up Medieval Town Mandala again. Actually, I completely restarted it having decided that I really wanted to do it on opalescent fabric. The amount I'd completed previously was minimal, so it wasn't a problem. I'm really pleased with the progress I've made to the extent that I've almost finished part 1 and the photo below is becoming out of date!


I'm also very pleased with the progress I've made on Nova over the last month. In October, I'd completed the first 3 blocks. In March, I added another 7!


On the down side, I haven't been able to keep up with Carol Tinson's Huswif as I would have wished. Part 3 is due this month, and I've only just finished part 1. This one has been my lunch time stitching at work where I've been feeling a bit stressed and not much like stitching recently. Sometimes even, it feels like the stitching adds to the stress. It gets confusing when I actually enjoy doing it yet feel stressed by it at the same time. So I think I may take a break from the lunchtime slot for now. Maybe when the weather is better, I'll get out to the park at lunch time and do a little stitching there. Sorry I don't have an updated picture!