Yarn: whatever you have on hand, although a smoother or cotton yard probably works best.
Hook size: whatever appropriate to make a fairly tight fabric, eg. 3.5mm for dk yarn, 2.5mm for 4 ply.
Tension: not important.
These instructions use UK terminology.
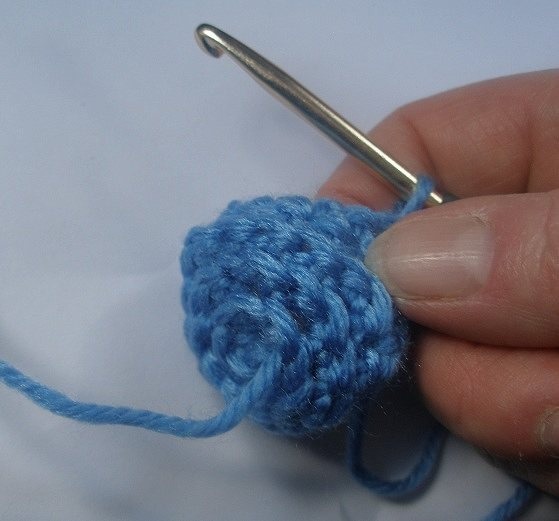
First, the top 'cover' of the tassel.
Round 1: 6 dc in magic ring (6 sts)

Don't tighten the ring to close the centre hole, but keep a small hole in the centre.
The following rounds are worked in a spiral without joining.
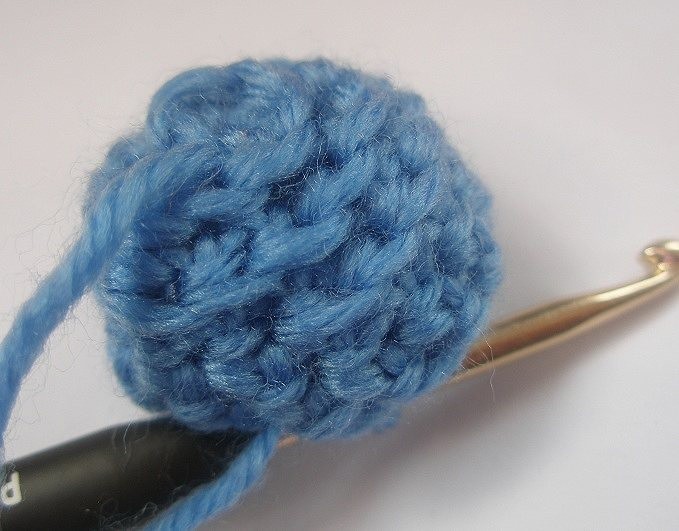
Round 2: Working in the front loop only, 2 dc in each st all round (12 sts)

Note that the photo above shows the 'wrong side' so that you can see the unused back loops which we'll use later.
Round 3: Working in the front loop only, increase every 4th st to 15 dc (15 sts)

Round 4: Working in the front loop only, 1 dc in each st all round. (15 sts)
Round 5: Working in both loops, 1 dc in each st all round. (15 sts)
Round 6: Working in both loops, *1 dc in each of first 3 sts, work next 2 sts together, repeat from * to end. (12 sts)
Sl st in next 2 sts

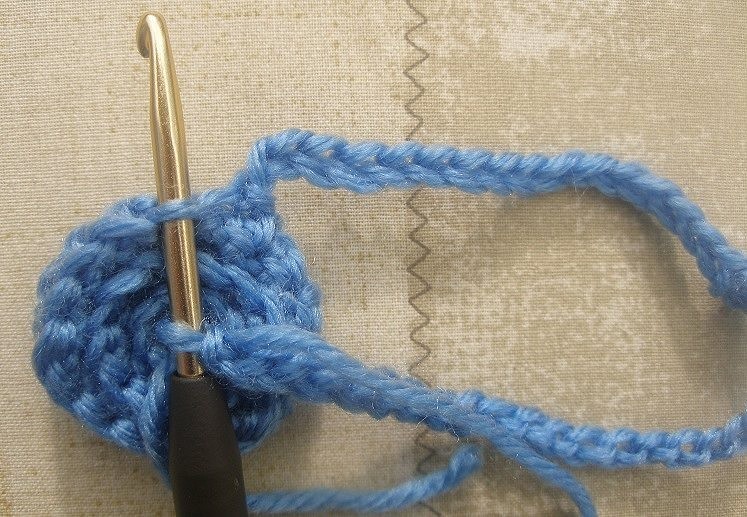
Keep this top 'cover' wrong side out with the empty back loops showing as we'll now use these back loops to anchor the dangling 'tassely' bits.
Ch 2 and sl st in first back loop from round 4.

Next, work 40 chain then sl st in the next back loop.
Continue in this way (40 ch then sl st in next back loop) until you've worked all the way back round to the beginning once.

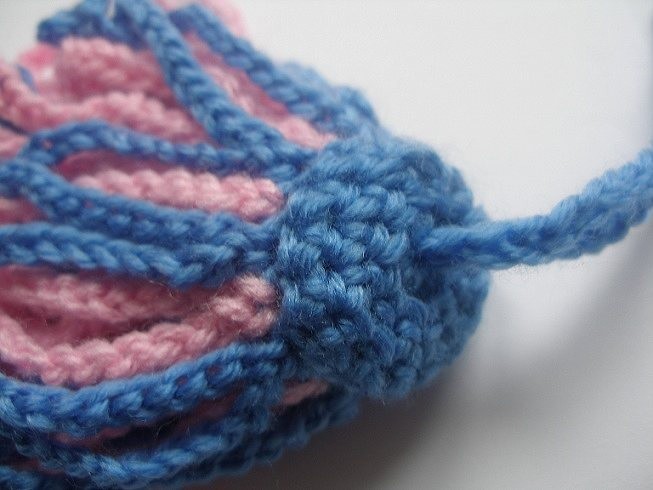
(Please excuse the fact that I've switched to a different tassel here!)
However, as an alternative, you could work the 'danglers' in two different colours.

Now ch 40, miss one back loop and sl st in the next back loop. Continue to ch 40 and sl st in alternate back loops until you get to the centre.

Work a long chain 'handle' and thread through the centre hole. On my blue/pink tassel, I worked 40 chain in blue, cut the yarn, then threaded this 40 chain through the centre hole. I then threaded the yarn tail back down again and finished it off among the 'danglers'.
You can now tighten the centre hole and finish off the yarn tail from the beginning.
Now, you need to fold over the top 'cover' of the tassel so that all the slip stitches and back loops are hidden inside the cover and the 'cover' is now right side out.

You would notice on the pink tassel that I added beads to the middle of each dangler. My hanging loop I then made extra long to make a necklace for Iona.

On my original tassels, I didn't make a complete hanging loop, but threaded some wooden beads on to the yarn tail.

And my blue/pink tassel I thought would make the perfect finishing touch for my Happy Flowers, inspired by Lucy!

So there it is! My first crochet tutorial. I'd love to know what you think, both of this way of making tassels and of the tutorial itself. Is everything clear? Are the photos OK? Any questions, let me know!

- Posted using BlogPress from my iPhone
6 comments:
Brilliant tutorial, must try one of these.
Thanks Lesley
I just love this tassel, and the one to left in particular! A beautiful thing to put on the wall. I am most definitely going to try to do one too!
Thanks so much for the post, really effective data.
I loved this pattern and got a bit carried away and made a number of them, I am posting them on ravelry and I am wondering if you have a rav name so I can link you directly.
Thank you for sharing this pattern. I just finished a long sort of diamond shaped scarf and think this is just what it needs to finish it off.
Thank you for an excellent tutorial! I have been looking for this type of tassel for some time. Your photos and instructions are great.
Post a Comment