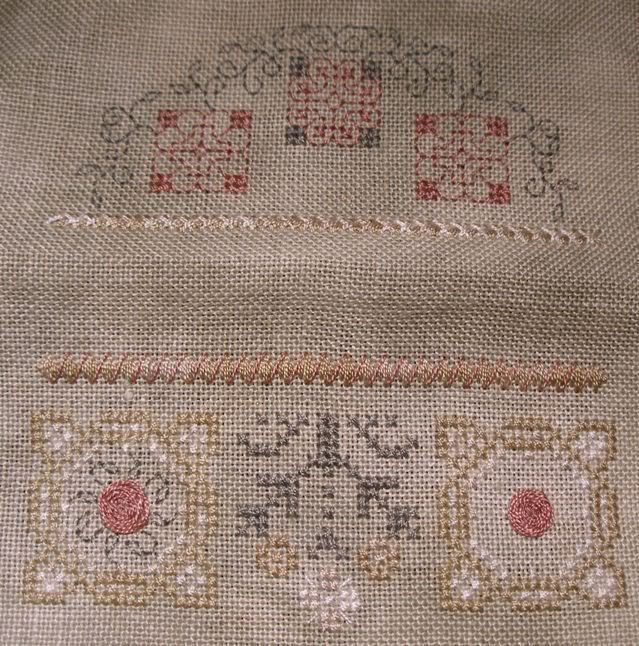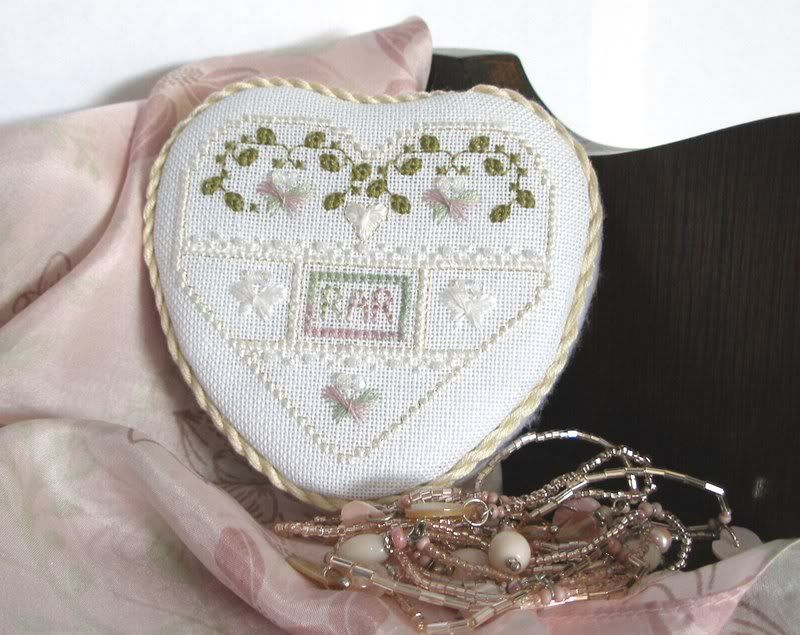
It looks very pretty and I'm really pleased with the way it turned out as it's the first piece I've finished as a tin top. My friend really liked it too.
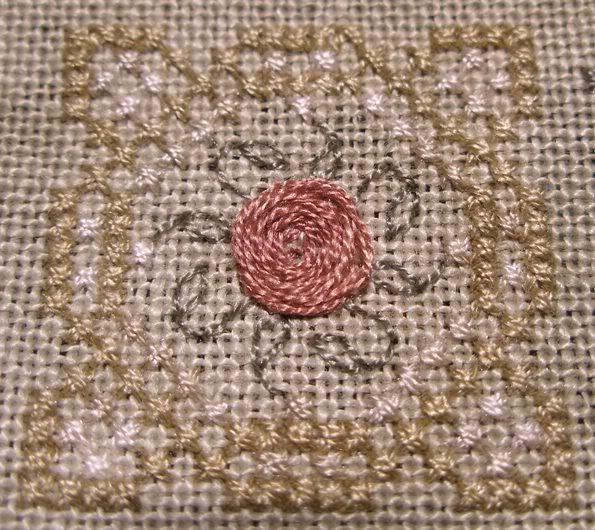
I got the design as a kit with everything I needed, including the tin. The first step was to stitch the top as normal. At this point I discovered some really horrible silky thread in the kit that was absolutely awful to stitch with. I'm not even completely certain what it was - in one place it's referred to as White Silk Mori and elsewhere as Creme Silk from Needle Necessities.
Whatever it was, it was really horrible to stitch with - the strands kept separating and slipping out of my needle and turning into a yucky fluffy tangle! However, as I'm fairly new to stitching with silk, I've no other white silk in my stash. I therefore persevered as I wanted to retain the effect of the sheen of the silk.
I also found that the chart could potentially be misleading as one of the symbols used for the beads, a dot, was also used to indicate the position of the Rhodes butterflies on the chart.
However, despite these drawbacks, I think it was certainly worth the effort.

Finishing the tin was fairly simple, if a bit fiddly.
You mark the shape of the tin on to a piece of card and cut it out. The stitched piece is then attached to the card and then this stuck to the tin. However, between the card and the stitching you need some padding - I used a couple of layers of white felt. The stitching is then attached to the padded card with a mixture of glue and lacing to get a nice firm fit and ensure none of the edges of the fabric show round the edges of the card.
Finally, you can run a length of fine cord around the top of the tin to hide the area where the tin and the stitched top meet - it makes a much neater finish.
You can also cover other parts of the tin. As the tin was red, I covered those parts of the tin top that would still be visible after the stitched top was added with a layer of white felt. A finer, better quality fabric or ribbon would give a finer, more professional finish, but I was quite happy with the felt. Another time, I'll try something different.

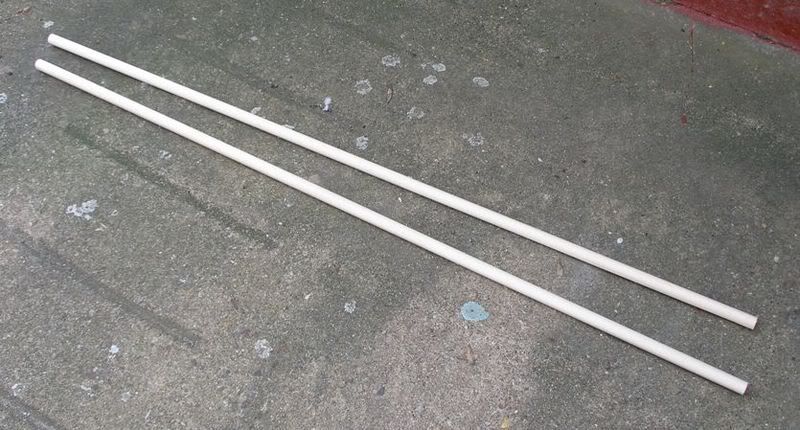
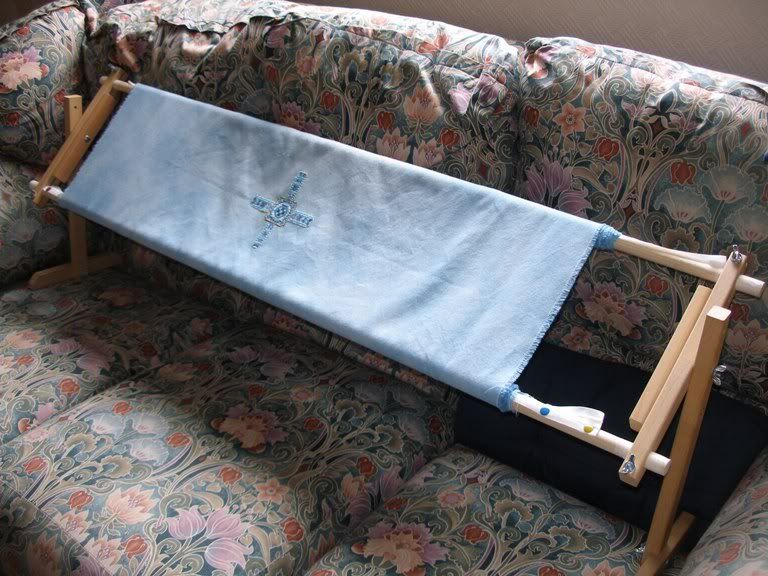
Thanks to everyone who commented on my monster scroll frame! It really has made an enormous difference to my stitching and have finished part 1 of St Petersburg (photos to come soon).
Trish asked about the tension of the fabric on the rods - I confess that is an area needing fine tuning! The tension of the fabric is not consistent across the width of the frame. However, so far, it hasn't annoyed me sufficiently that I've done anything about it. I suspect that the curtain tape hasn't been attached to the rods in a straight enough line. Either I'll have to loosen off everything and re-attach the tape, or I might try rolling an extra piece of fabric round the rods beside my stitching fabric to tighten things up at bit.
Anyway, flushed with enthusiasm over this success and the luxury of being able to use both hands properly while stitching (no man-handling a scroll frame now it's on a stand), over last weekend, I drilled 5mm holes in the side bars of my 30 inch scroll frame (on which I have Medieval Town Mandala) so that I could attach the same stand/legs to this frame too. I'm not sure that I'm very good at drilling holes in a straight line, but the end result works a treat and I'm making excellent progress on MTM while waiting for part 2 of St. Pete.

| Your Element Is Air |
 You dislike conflict, and you've been able to rise above the angst of the world. And when things don't go your way, you know they'll blow over quickly. Easygoing, you tend to find joy from the simple things in life. You roll with the punches, and as a result, your life is light and cheerful. You find it easy to adapt to most situations, and you're an open person. With you, what you see is what you get... and people love that! |

